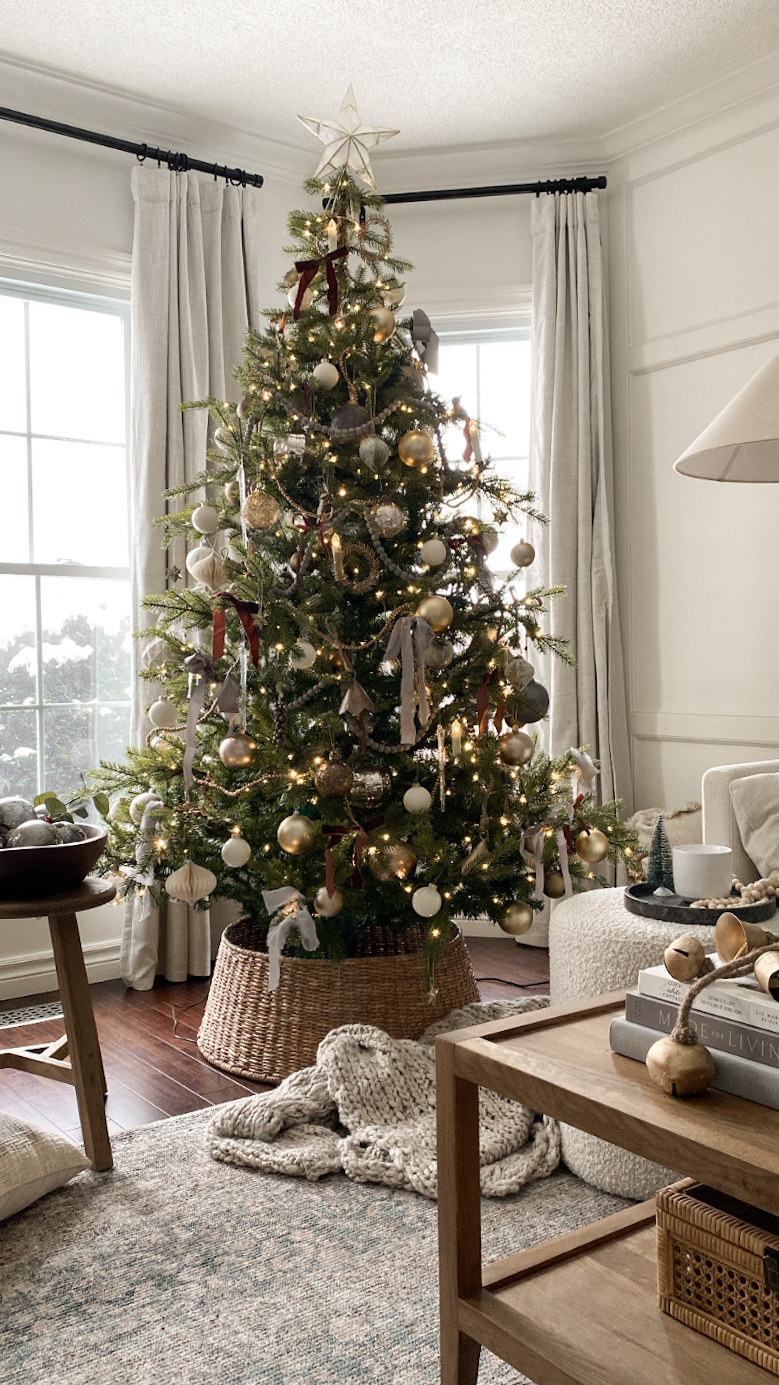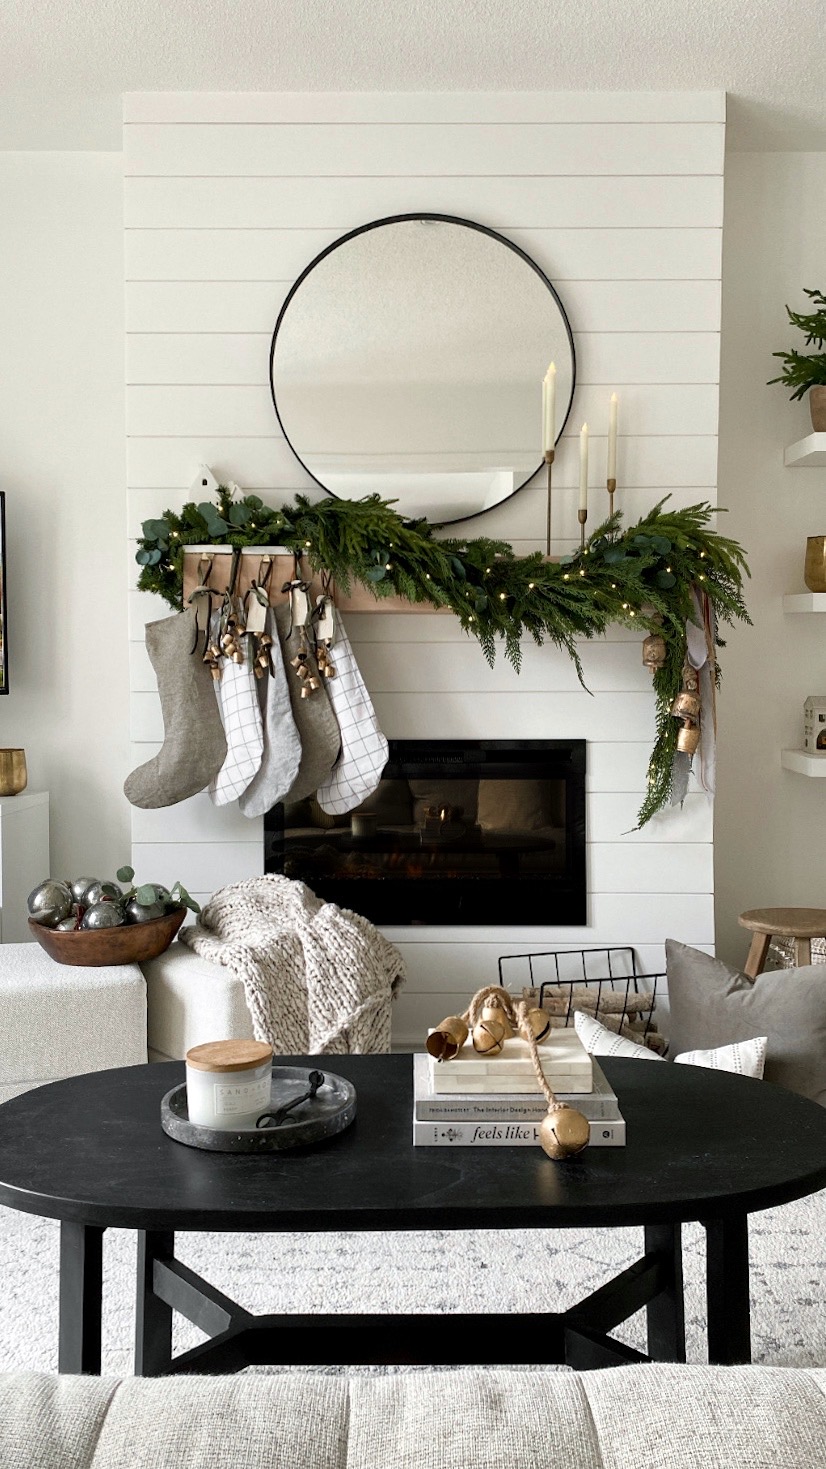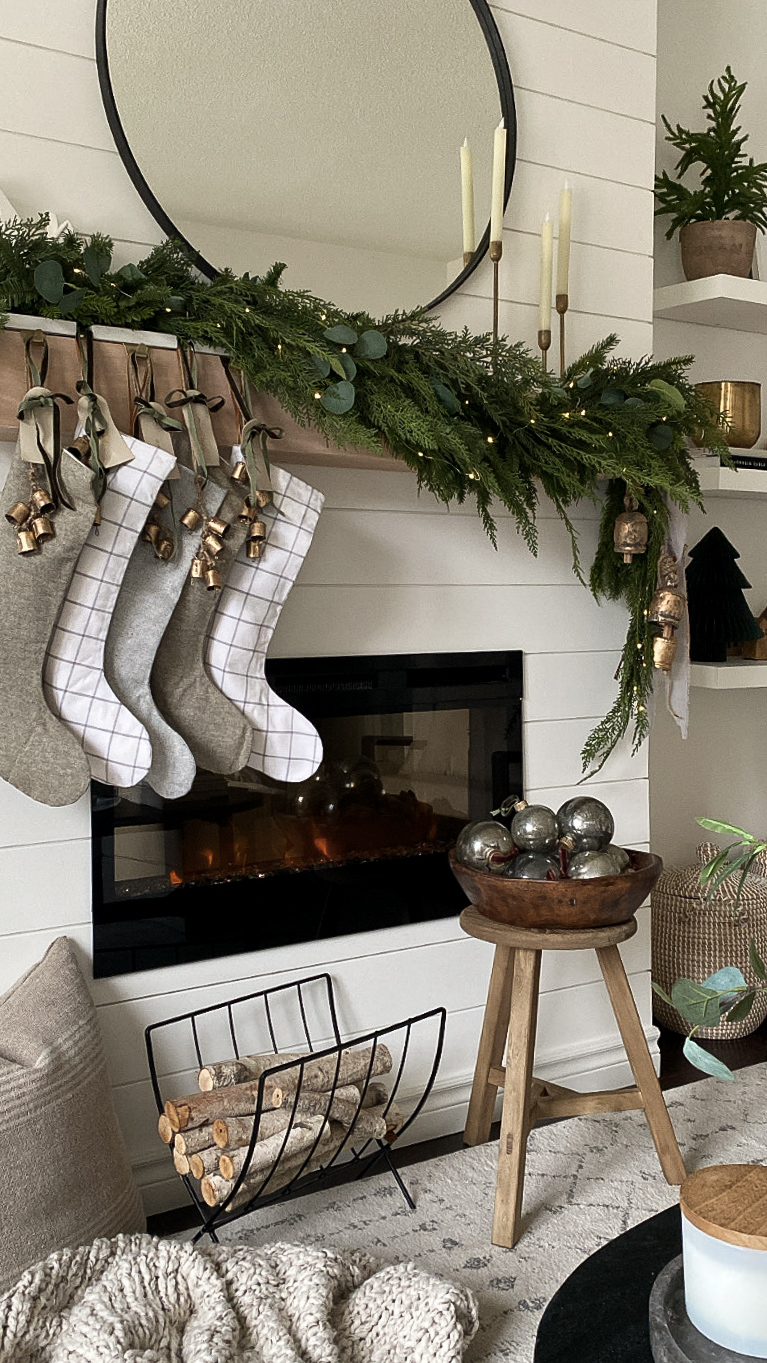
Last year I shared this simple technique but I wanted to give you a detailed tutorial since I love these so much!
The KEY product here is the Mirror Spraypaint! It’s truly what helps to give that mercury glass look! Otherwise I just used spray paint I had on hand and any clear ornaments will do!

𝙃𝙚𝙧𝙚’𝙨 𝙬𝙝𝙖𝙩 𝙮𝙤𝙪 𝙣𝙚𝙚𝙙 𝙩𝙤 𝙙𝙤:
𝐒𝐓𝐄𝐏 𝟏- Start by setting up your supplies and taking the hanging tops off your ornaments
𝐒𝐓𝐄𝐏 𝟐- Using the Looking glass paint, add 3 sprays into your ornament. You want to work quickly here so it doesn’t dry in one spot, so always keep moving your ornament around!
𝐒𝐓𝐄𝐏 𝟑- Immediately add 2 sprays of the 50/50 vinegar/water mixture into your ornament and swirl it around. Use your blowdryer while swirling your ornament to dry whats inside.
𝐒𝐓𝐄𝐏 𝟒- Set your ornament upside down on some paper towel.
𝐒𝐓𝐄𝐏 𝟓- Once dry, repeat this process using gold and then black spray paint, each followed by the vinegar/water mixture.
𝐒𝐓𝐄𝐏 𝟔- Keep going until you get the look you’re going for- I did 2 rounds of all 3 spray paints.
𝐒𝐓𝐄𝐏 𝟕- Add gold rub n’ buff to the ornament tops (you could also just spray paint them gold since you already have that handy!)
𝐒𝐓𝐄𝐏 𝟖- Use some velvet ribbon for hanging!
I created most of these last year, but love how different some look this year!
Questions? Add them in comments!! Let me know if you try it!
SUPPLIES
- Rust-o-leum mirror spray paint
- Gold & Black spray Paint
- Spray bottle with 50/50 Vinegar/Water
- Blowdryer
- Rub N’ Buff
- Velvet Ribbon

#mercuryglass #ornamentdiy #holidaydiy #christmasornaments #christmasdecor

