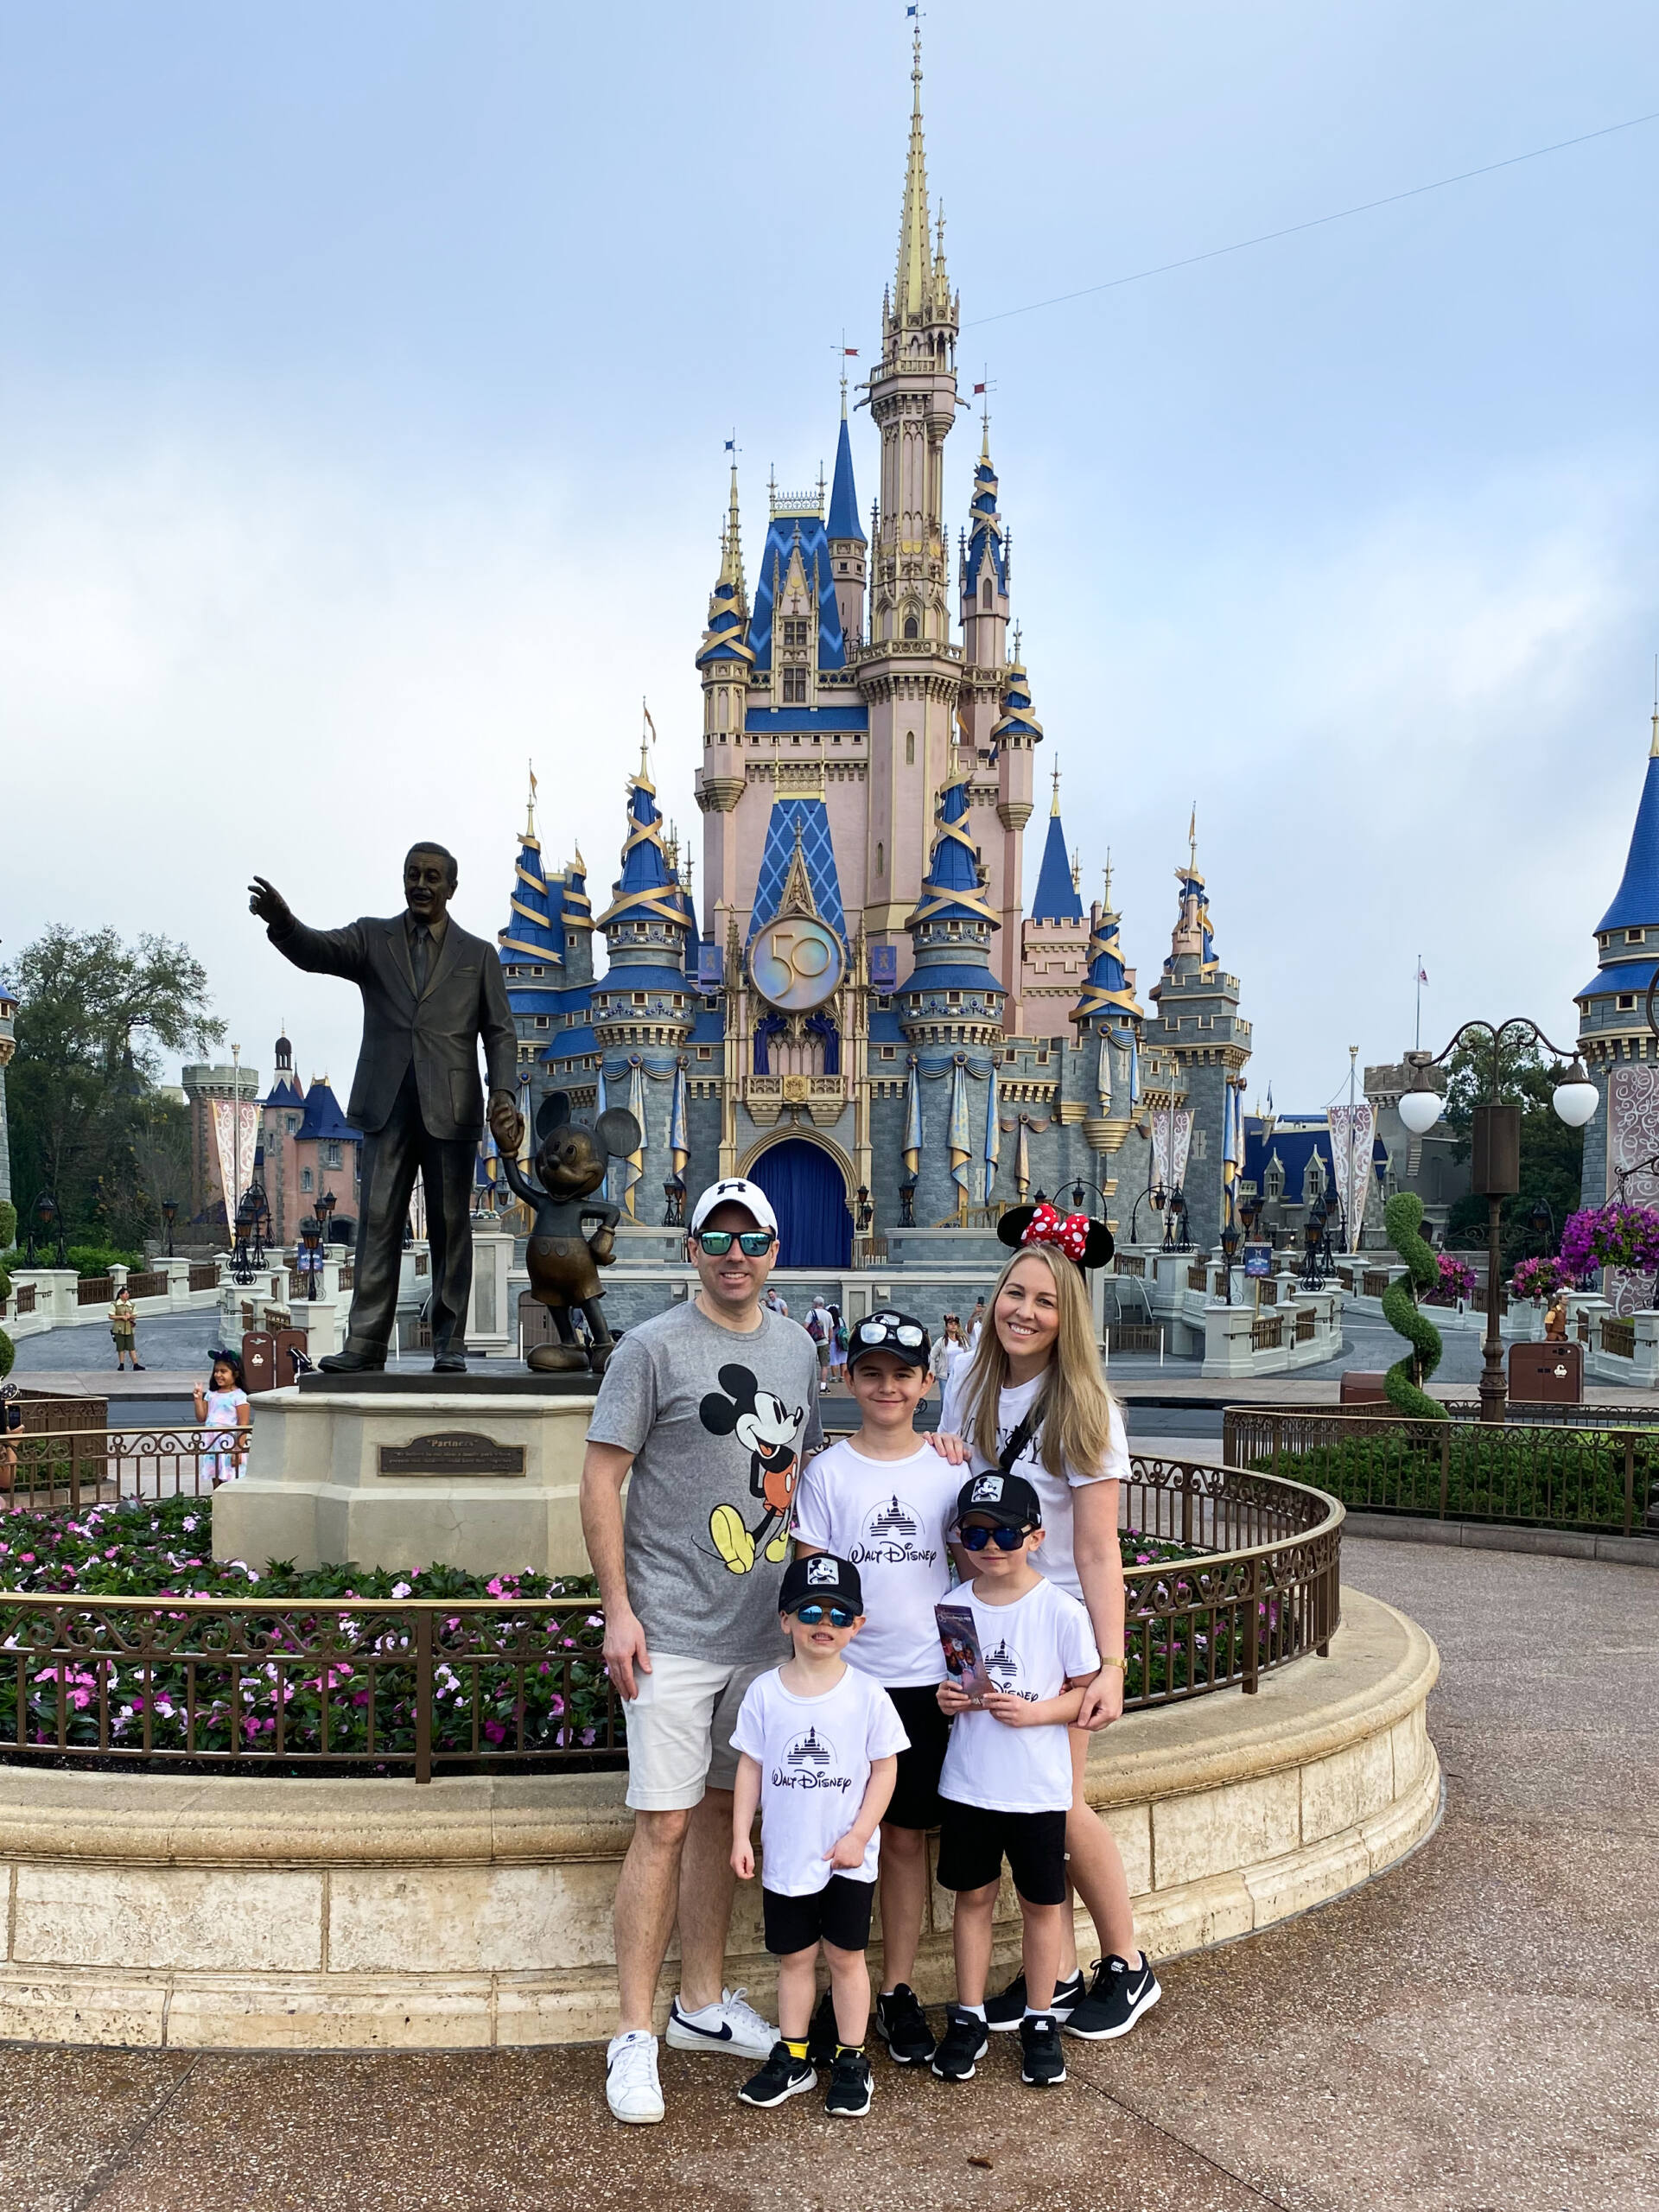
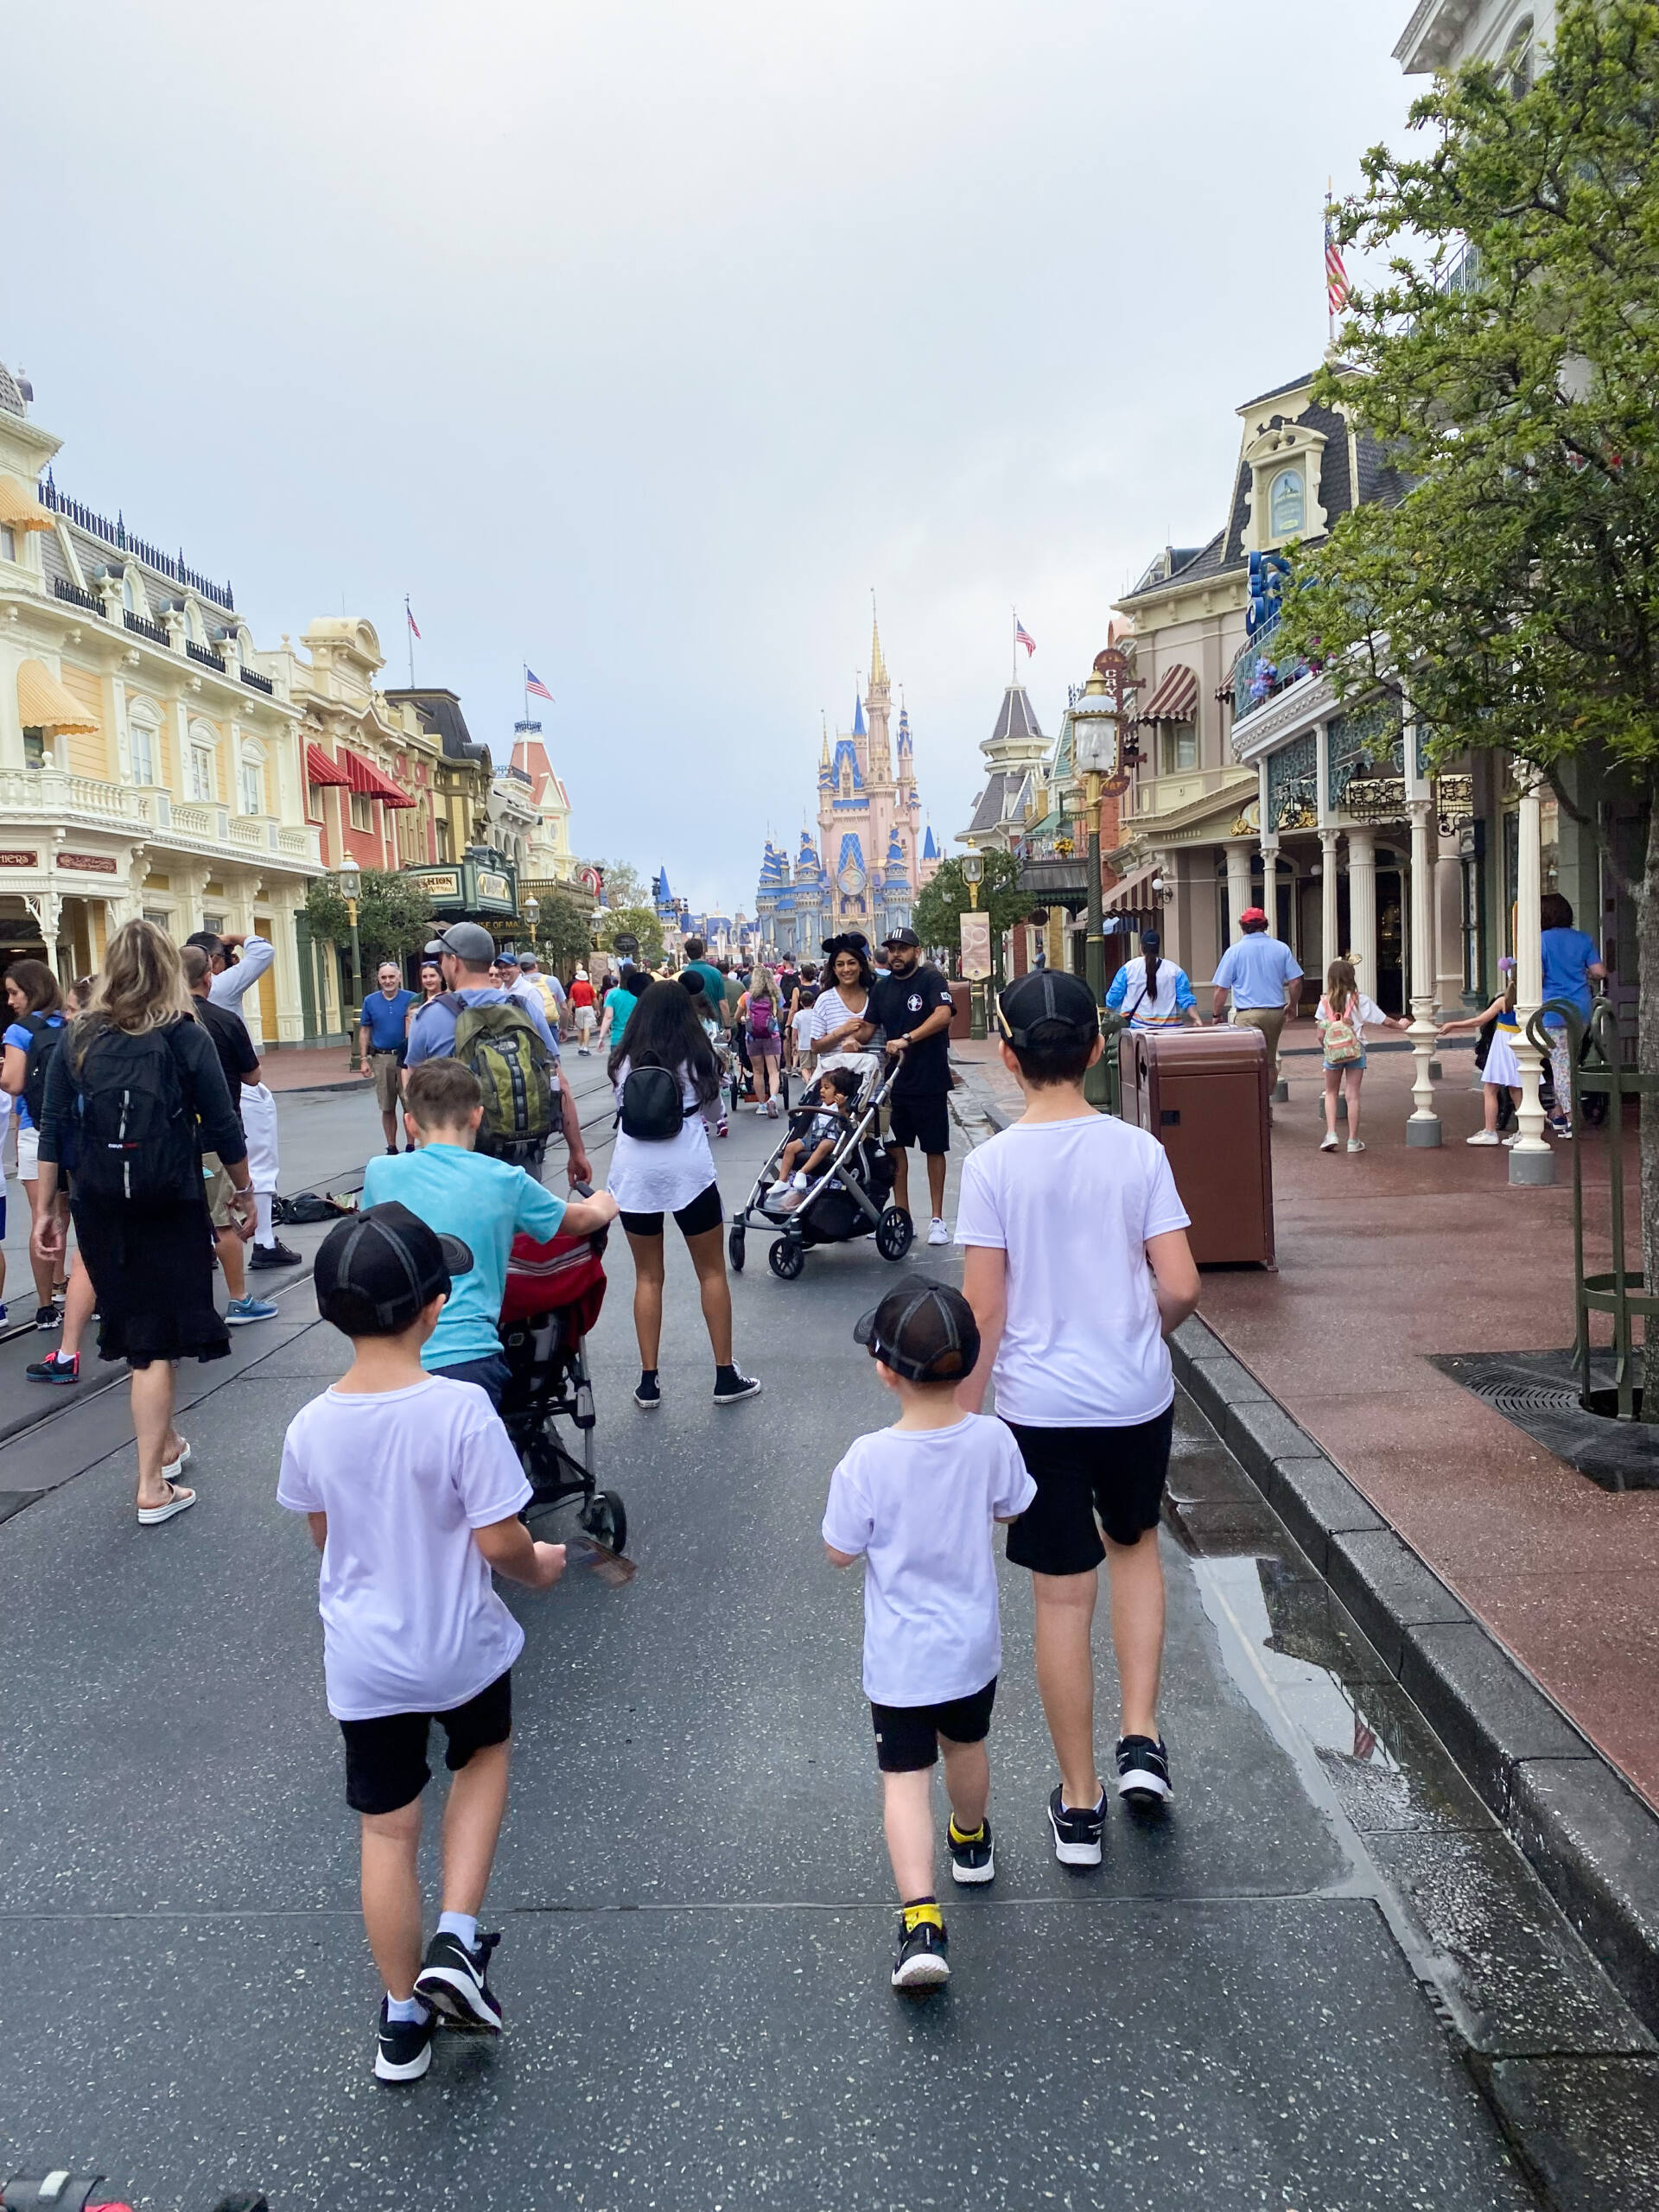
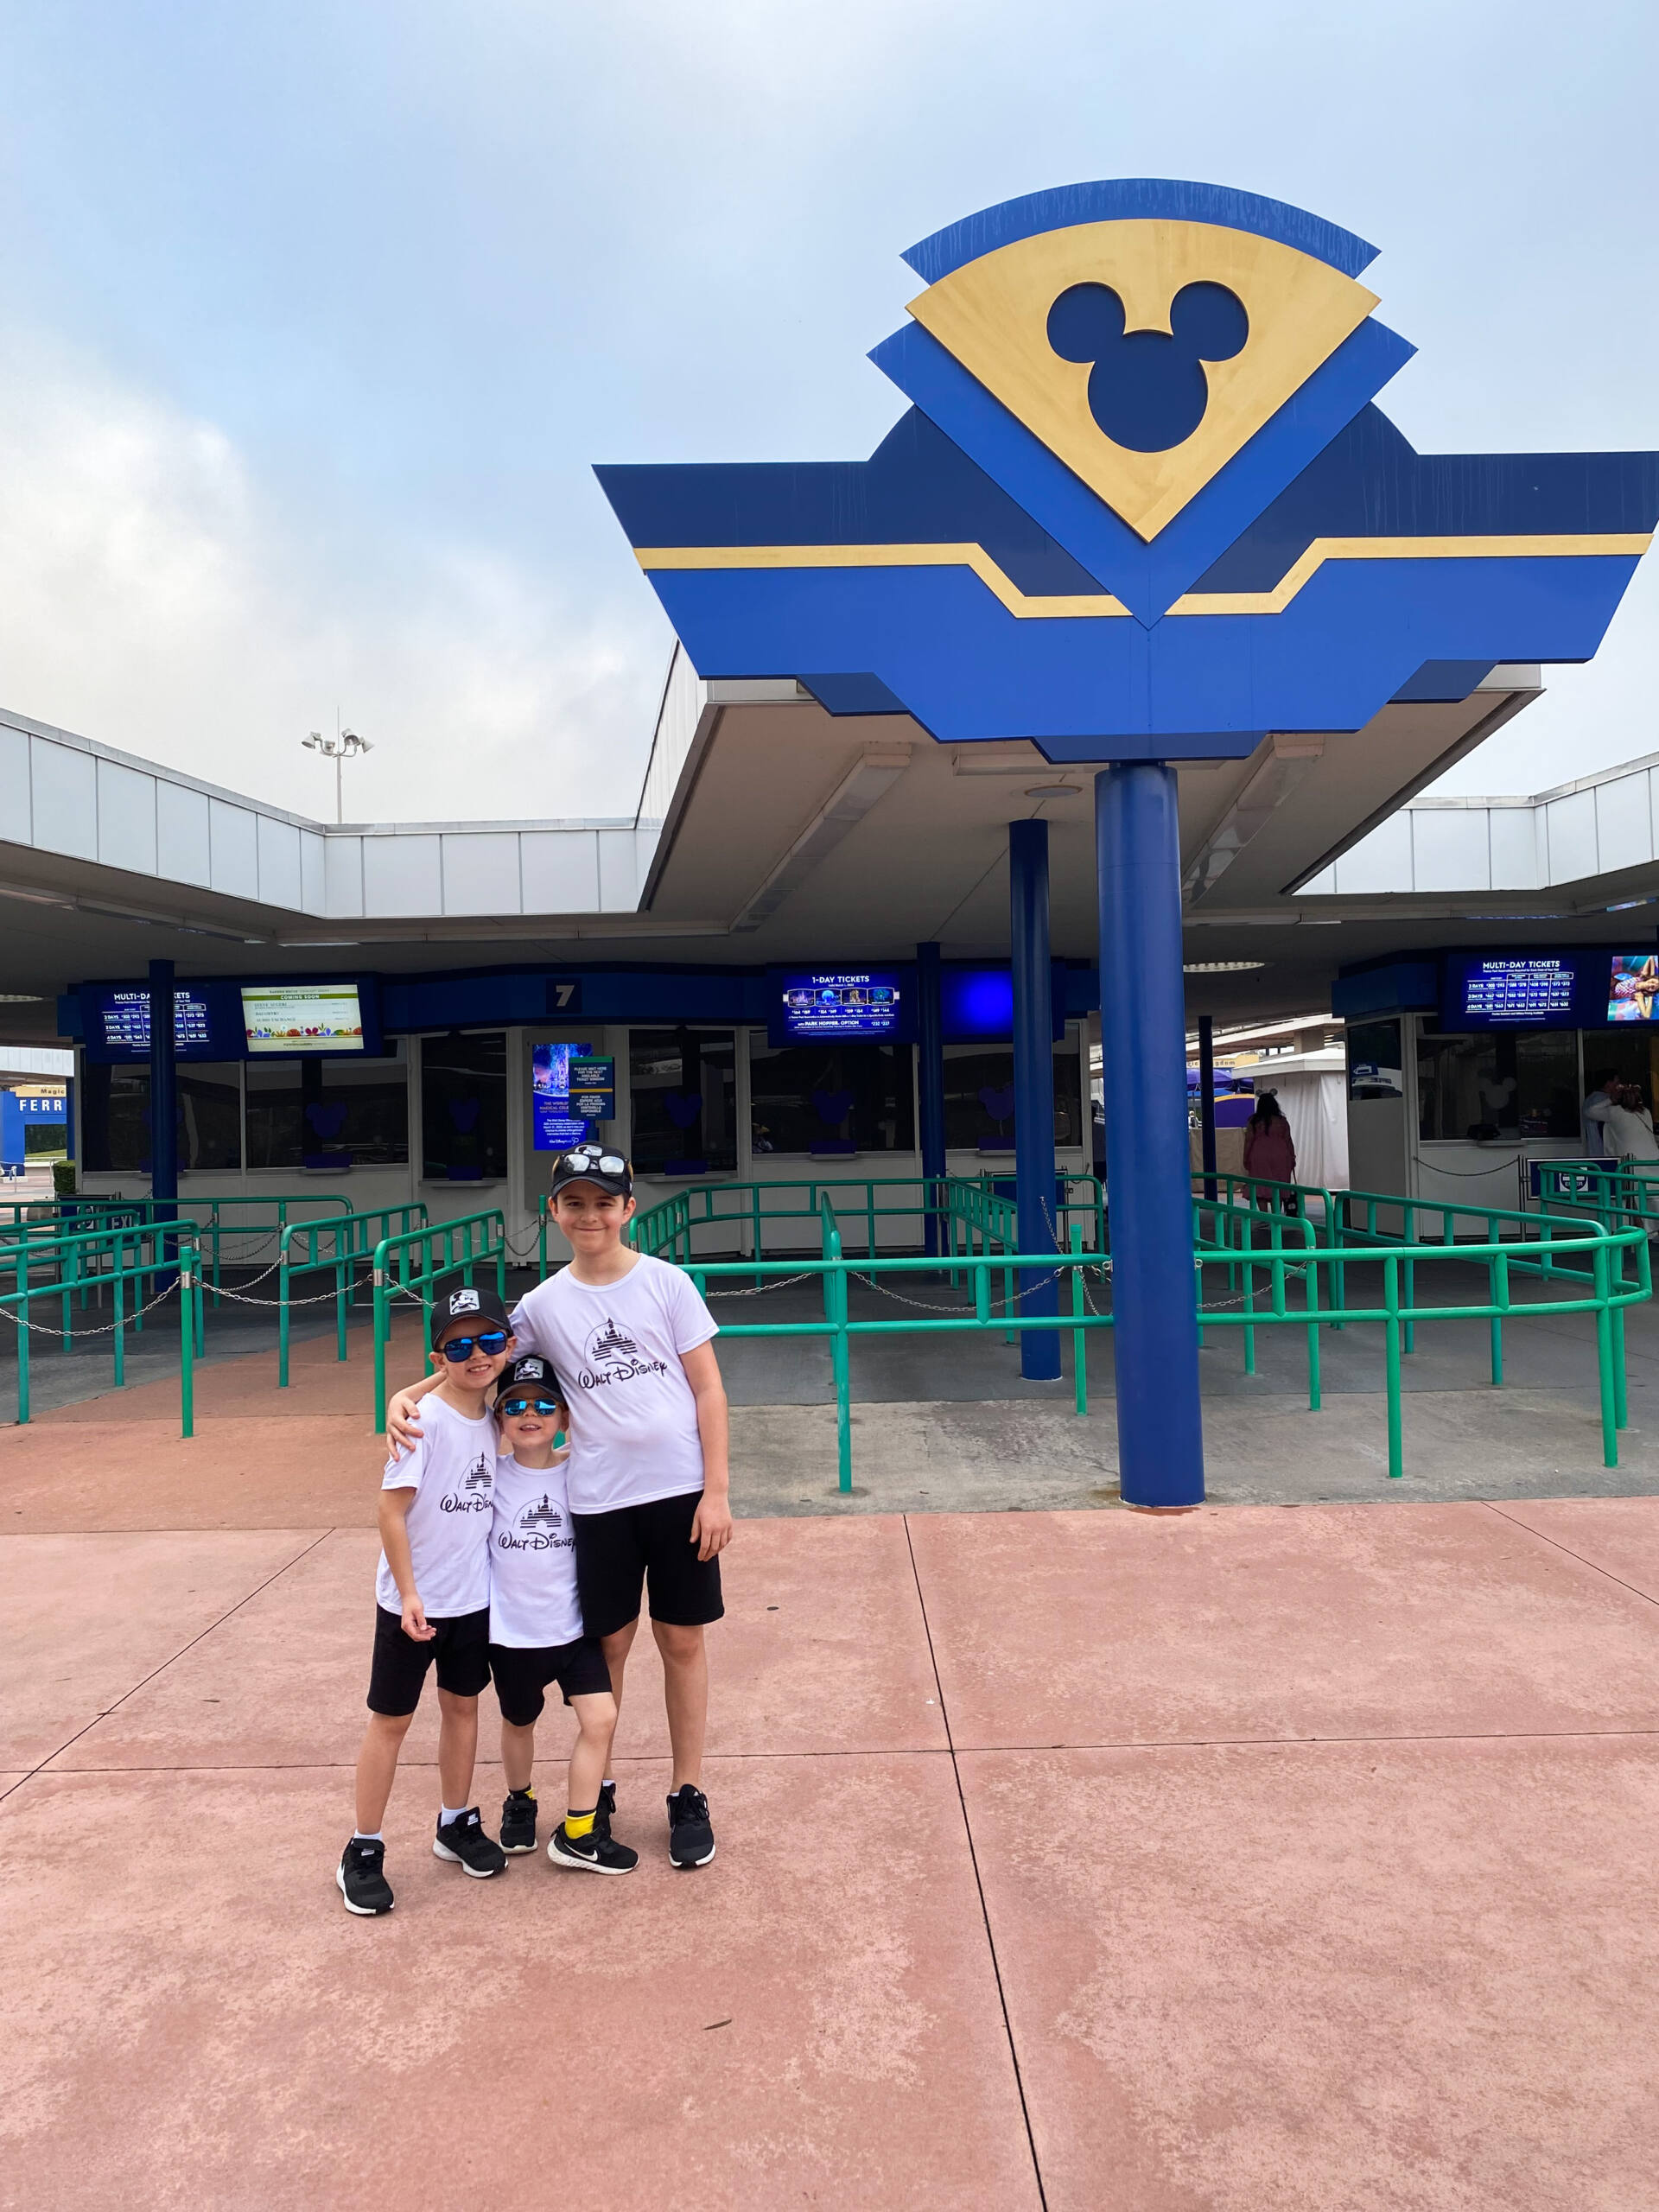
We recently decided to take a family vacation to Florida and before we left I felt very overwhelmed with it all. I wanted to ensure our kids had the best time and with the amount of information out there, it can seem daunting to figure out what to do and how to do it! We decided to take our 3 kids to Disney World for the first time and let me tell you, it has definitely changed over the years!
So, I read a few blogs, signed up for the free Disney app and figured we’d make the best of it! Surprisingly, things went amazing! We had the best time, did ALL the rides we wanted….WITHOUT staying on resort, doing a ton of research or paying a fortune.
So, here are my TOP TIPS for getting the most out of your Disney trip…without staying on the property, paying a ton or planning like crazy! I’ll be sharing more on my IG page: @melb_lifeandhome as well!

1. Read a Disney blog & join a Disney Fan’s Facebook Group
I randomly found this blog: Walt Disney World Prep School and it had a ton of info explaining how different services work, great tips on rides, planning out your day, etc. I didn’t spend a lot of time reading everything or stressing myself out, but used it to understand a lot of the changes that have occurred in the park over the years. The concept of using the Disney App and Genie + were all foreign ideas to me and this blog lays everything out in very basic terms, so you can’t go wrong. I also joined a Disney FB group a year ago to get ideas and familiarize myself with all things Disney knowing one day we’d be taking the kids. It was a huge help and gave me a lot of tips and info. The people in these groups are often frequent park visitors and know all the insider tips and tricks!
2. Download the free Disney App
Initially I found it overwhelming, but I downloaded the Disney App a few months before our trip and played around with it every few weeks. It was honestly a HUGE help in navigating the park, getting on rides, etc. Once you’re in the park it’s useful for figuring out which rides have the shortest wait times, which rides you can use the Genie + for (I’ll explain that service next) and really helps you navigate the park. I honestly used a paper map most of the time (thankfully they still have those upon entering the park), but with the volume of people that visit the parks now, you’ll want to use this app to help you figure out which rides to go to first, etc. It also lets you book dining reservations, order food through your phone etc.

3. Buy the Lightning Lane
After I began to understand what the Lightning Lane service was, I realized it was going to be a game changer for us with 3 kids, especially our 3 year old. The Lightning Lane service is something additional that you pay for, IF you choose to. It basically allows you to skip the line for specific rides, which is amazing when you have very young kids and its incredibly hot! Once you download the FREE Disney App, it gives you the option to purchase Lightning Lane for the day of your park visit. (TIP: to better understand how to use Lightning Lanes and when to purchase them, read the blog I linked in point 1!). For us it was 10000% worth the extra money. The cost of Lightning Lanes varies per day, but in our case it was an additional $20 USD/person on the days of our park visits. That’s an additional $100, so it wasn’t cheap, but I compared it what it would have cost us per ride without and with paying for the Lightning Lane and we got waaaaay more for our $ using Lightning Lanes.
Example:
OPTION 1 (NO Lightning Lanes):
Tickets = $300/person.
Without Lightning Lanes we likely would have gotten on 5 rides for the day (based on the length of most of the lines). That’s an average cost of$60 per ride and an average wait time of about 45 mins.
OPTION 2 (Pay for Lightning Lanes):
Tickets = $300/person AND Lightning Lanes = $20/person. TOTAL =$320/ticket.
With Lightning Lanes we managed to get on 15 rides in one day. That’s an average cost of $21 per ride and the longest attraction we waited in line for was 30 mins for a visit with Darth Vader (which didn’t have an option to use the Lightning Lane). For any other ride we waited less than 20 mins.

4. Buy Disney Merchandise in advance
I ordered Mickey hats, shirt, ears and autographs books online from various retailers before we left. Saved us a lot from buying souvenirs at the park and the autograph books were identical to the ones at Disney! I also noticed that they sell the Mickey ears in pretty much every Walmart in Florida.
Here’s the link for the autograph books I purchased a day before we left and cost less than $15: Disney Autograph Book
Neutral: Disney Minnie Ears
Our boys matching: Mickey Baseball Hats
Cute Mickey luggage tags I got for the kids: luggage tags
I got the kids these adorable Disney cups in a store called MINISO at our local mall. Under $10 each and awesome quality too.


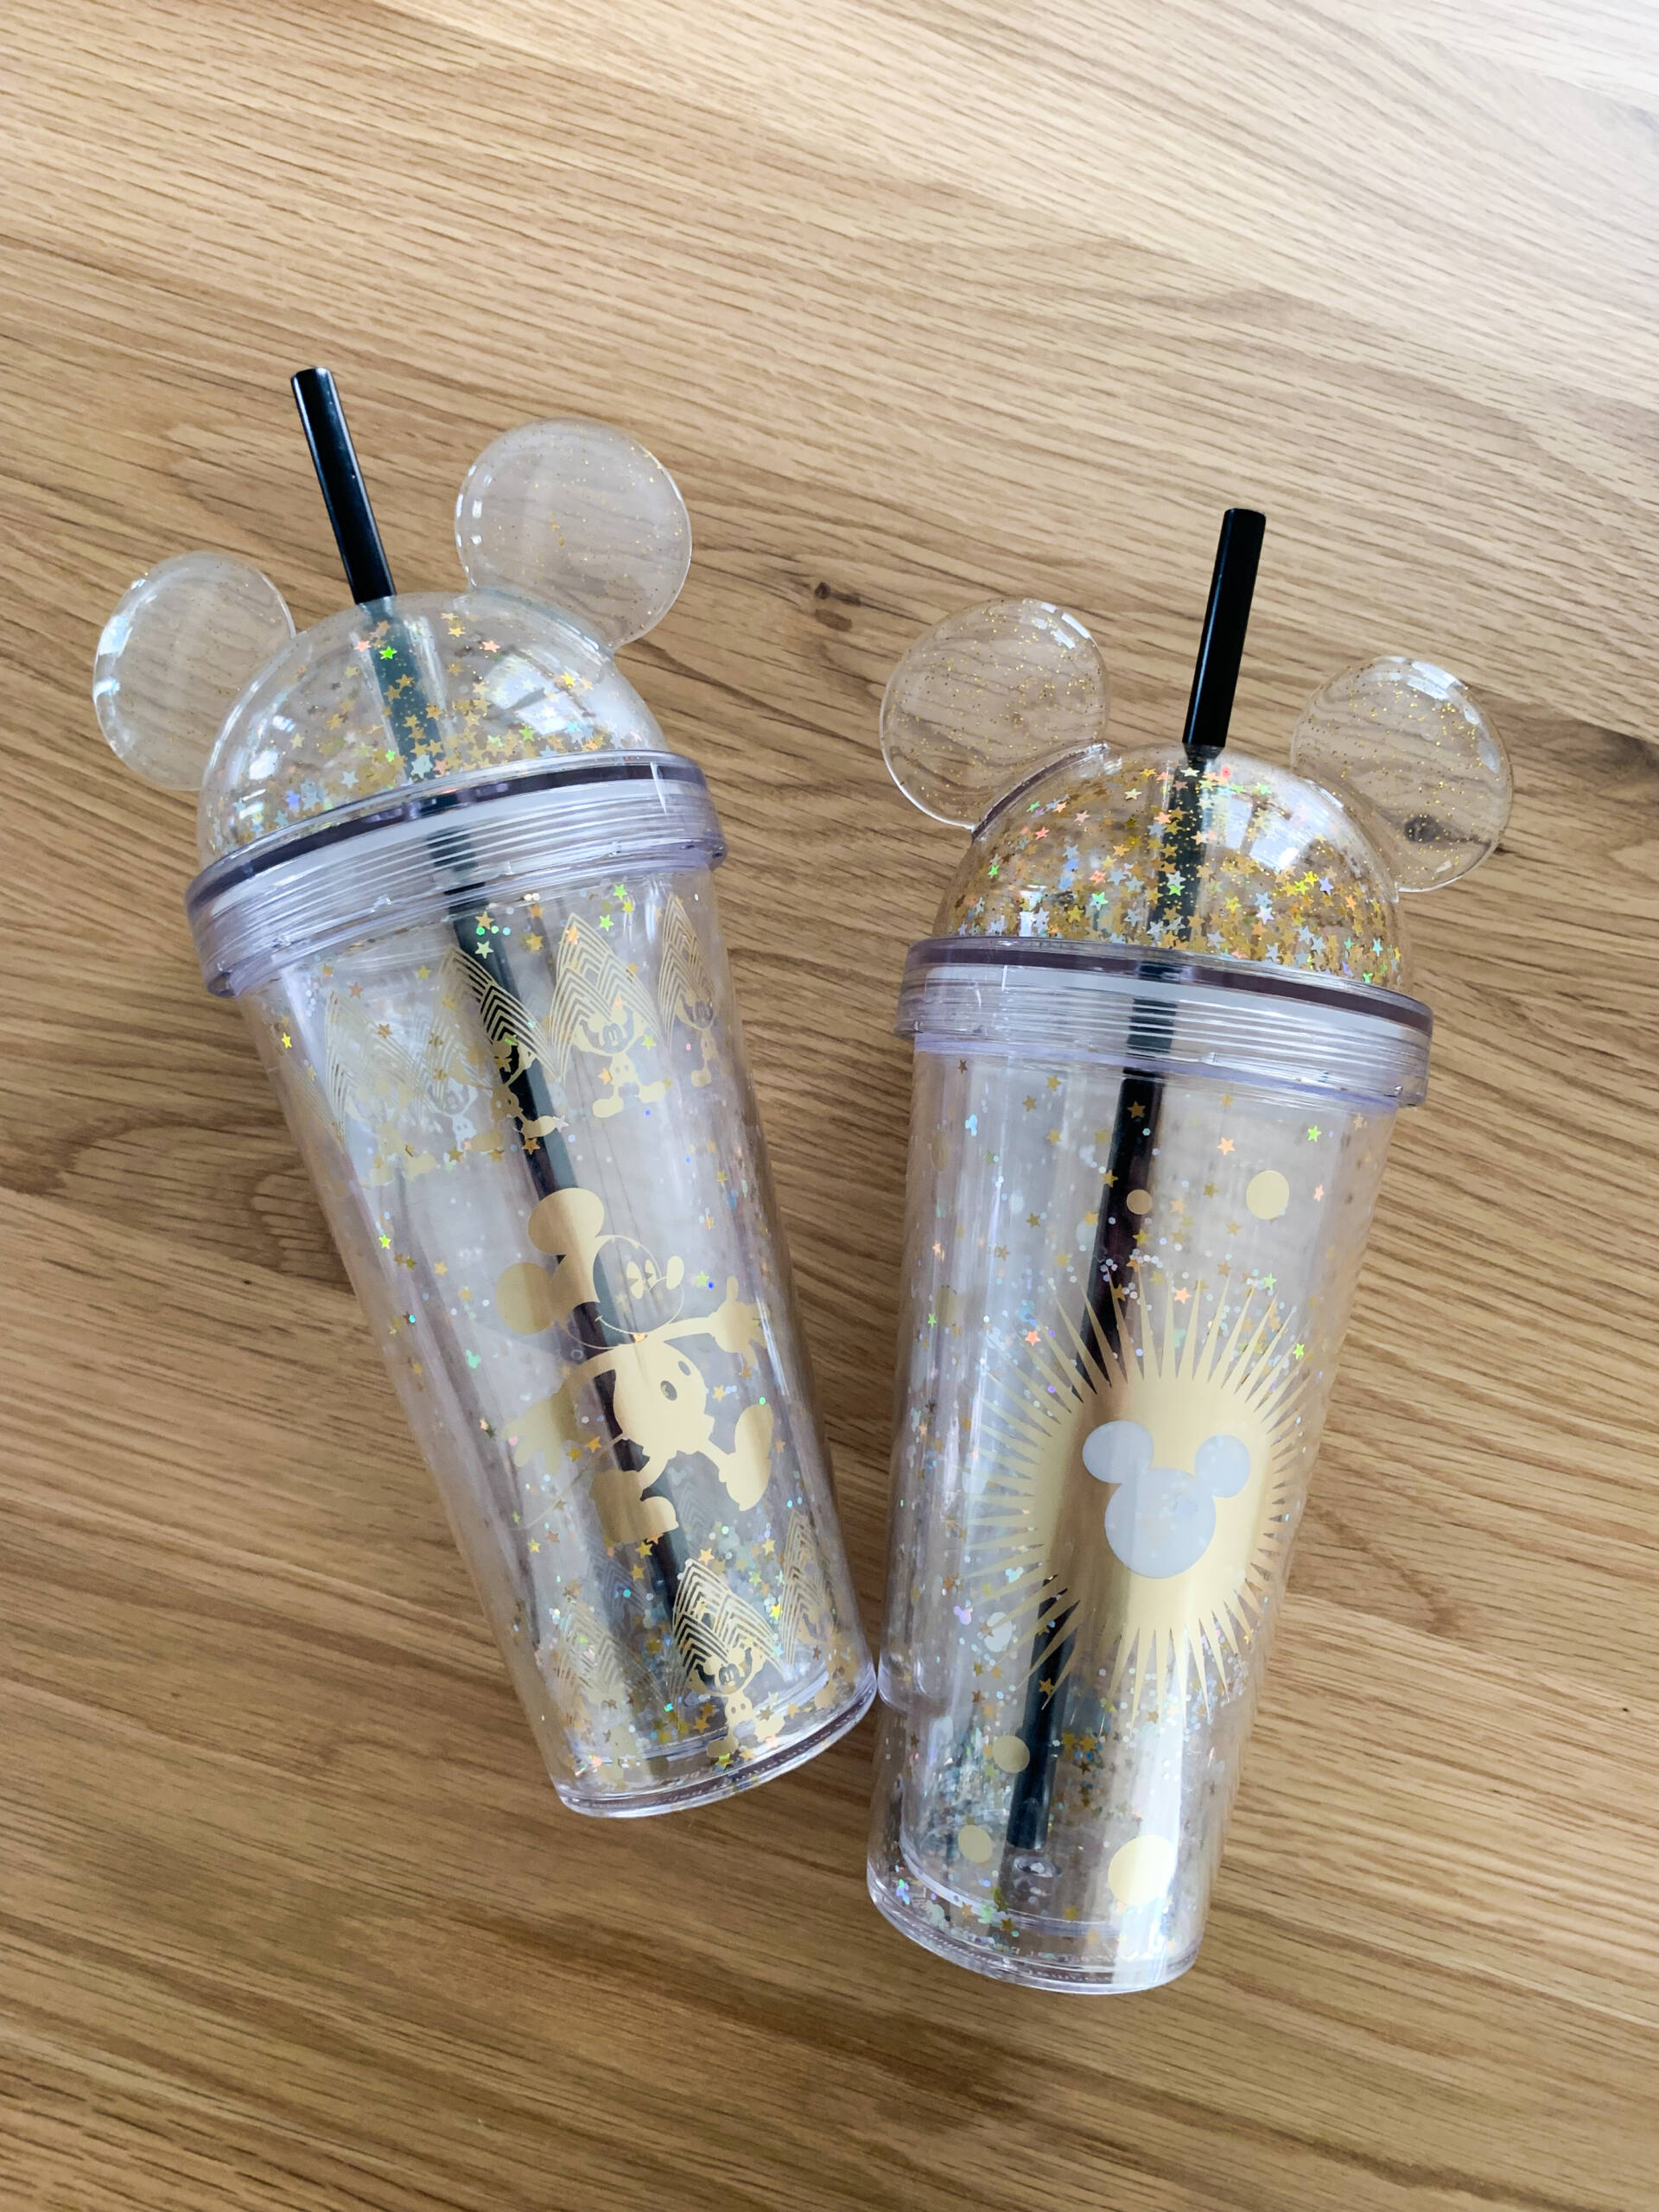
Cups from MINISO
5. Plan to go early (before the park opens)
If you stay on a Disney Resort, you have special privileges to visit the parks earlier than off-resort guests, but to be honest, I didn’t find that to be a big issue for us staying OFF resort. We got up early and got to the parking lot around 7:00am. We were able to park and walk right onto the shuttles at that time. We got to the parks between 7:30-7:45 am and waited about 45 minutes before we could enter the rides. This gave us time to take photos, give the kids snacks, put on their sunscreen and have a plan of action in terms of rides. I used the Genie + to book our first ride and once we entered the park I used the Disney app to give us an idea of which rides were most popular and which had the shortest wait times.
6. Skip Dining Reservations
If it’s your first time visiting the parks, I’d recommend making rides/attractions a top priority (if that’s what you’re going for!). As much as I would have loved our kids to have a character dining experience, they were snacking throughout the day and I don’t think any of them would have wanted to sit still for a dining experience longer than 20 mins. This is obviously a personal preference, but I knew our kids wanted to do the rides so we put the emphasis on that. I used the Disney app to order quick meals from the walk up food options, around 11:20am (which made the food ready around 11:40am) and gave us time to find a bench and sit down. It also helped us save on cost and maximize our time for rides & attractions at the park.

7. Bring an extra phone charger
If you download the Disney app and use Genie + you’re going to be using your phone a lot and you’ll want to bring an extra portable charger/power bank to help charge your phone. I was on my phone using the Disney app way more than I expected (and wanted, TBH) and I used a full charge on my phone PLUS a full charge on a power bank throughout the day.
This is the one I brought with me. It’s small and under $30. Power Bank/Portable Charger
8. Bring lots of drinks, snacks and a stroller if you have little ones.
We brought our stroller and I’m so glad we did. For the amount of walking we did it was a huge help with our 3 year old. It was great for stashing drinks, snacks, spare clothes and extra things we didn’t want to carry around. We brought our City Select and there was no issue bringing that into the park. We also had no issues with our stroller or items in the stroller being taken. I would recommend tying a brightly coloured scarf or piece of fabric to your stroller to make it easier to spot! We also brought in refillable water bottles for everyone and a ton of snacks. There are water filling stations all around the park. I also brought ponchos with us, although on our park days we thankfully didn’t need them.
9. LAST and MOST IMPORTANTLY…lower your expectations
I had no expectations that we’d be able to do all the rides or things we wanted to. However, we ended up being able to do way more than I planned, thanks to the Genie + and the Disney app. We booked our park days for a Wednesday (Magic Kingdom) and a Friday (Hollywood Studios) and although I was worried about the Friday, it wasn’t that much busier than the Wednesday. With 3 kids ages 9, 6 and 3 we got on 15 rides at Magic Kingdom and 10 at Hollywood Studios. That was way more than I hoped we could do and we didn’t push the kids at all. We only planned 2 park days (with a rest day in between which was very needed!) When we needed a break, we took a break. We went into the shops when we needed to cool off from the heat and used these cooling patches as well (HUGE help!)
These are the cooling patches we used: Cooling patches

~~~~~~~
Overall, I’d recommend figuring out your priorities and letting that guide you in planning your day. We looked at maps of the park in advance and asked each of our kids which rides they really wanted to do. We prioritized which rides we could do together as a family- I also watched YouTube videos on rides I hadn’t done before so I could get a good idea if it would be something that our smaller kids would be scared of. We kept meals simple, brought lots of snacks, sunscreen, bandaids, extra clothing and water and used the Disney app to help us avoid long lines. We used one backpack and a belt bag between the 2 of us and that allowed us to bring everything we needed. My strategy years ago of starting at the back of the park and working my way forward, doesn’t really work anymore unless you don’t mind waiting in line. We went where the lines were shortest, which meant a lot of extra walking so WEAR COMFORTABLE SHOES! We took breaks often and frequently and made sure to stay hydrated in the heat. We planned for 2 days at 2 parks (1 day at MK and 1 day at HS) and that was enough for our 3 kids. They needed a rest day in between and only doing 2 parks kept them from feeling overwhelmed. It also gave us an idea of how they handled the parks and what we could do differently for our next trip.
I hope you found this helpful and if you have any additional questions, feel free to comment below or comment on my Disney Reel on IG @melb_lifeandhome !
Happy planning!