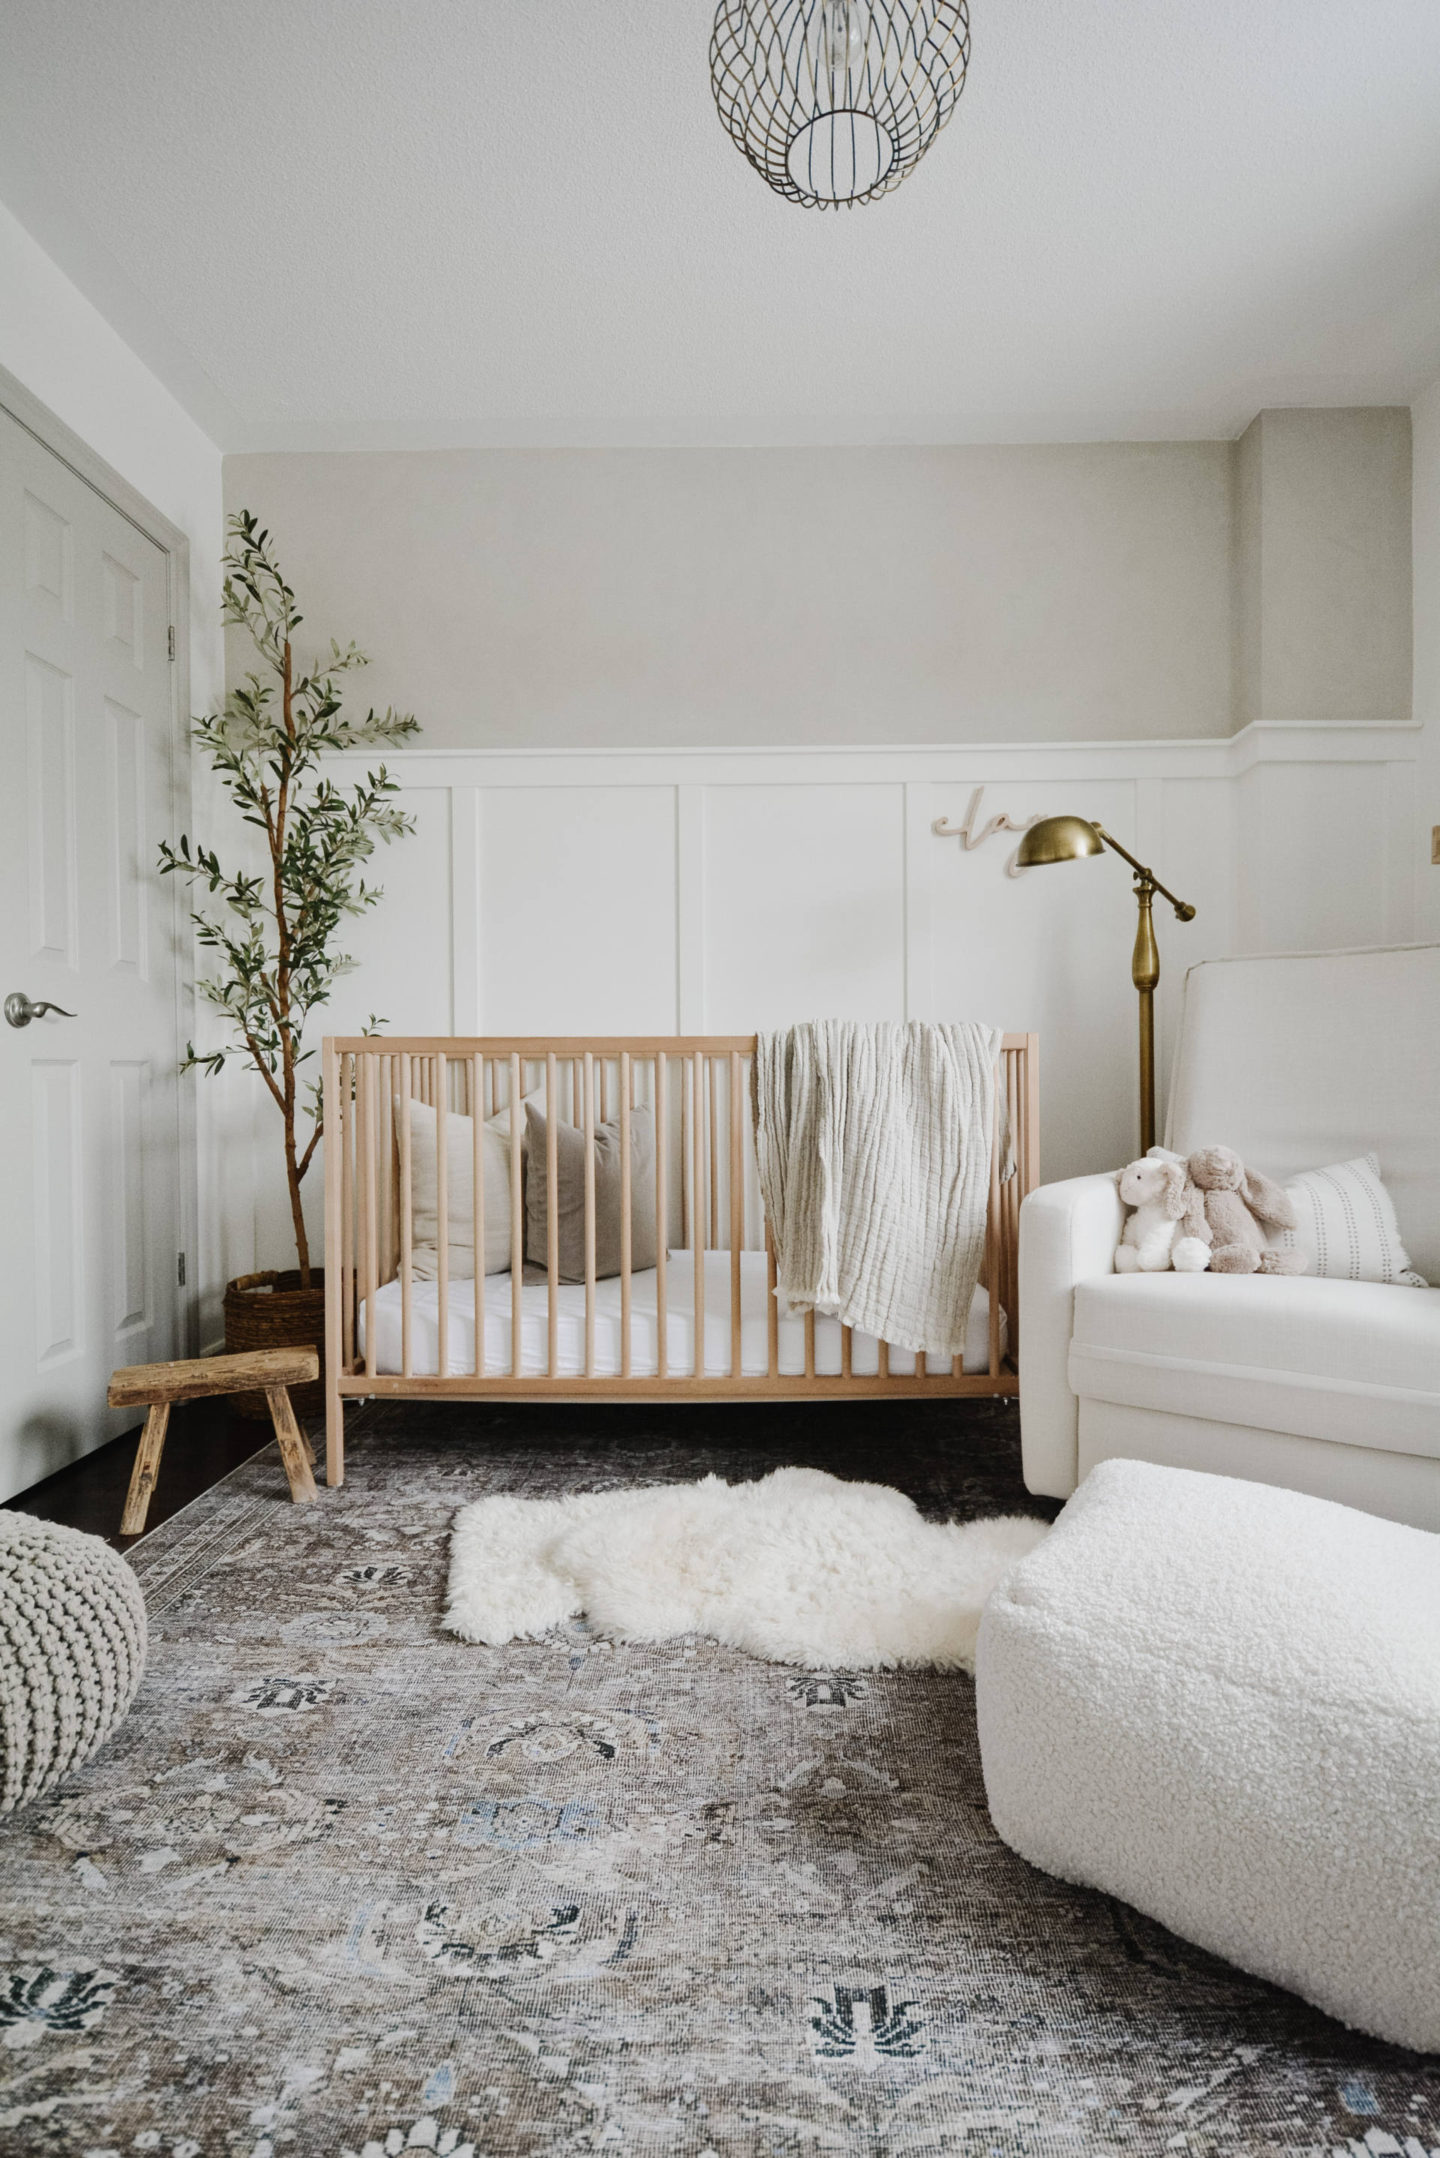
Lately I’ve been loving the effect that limewash paint gives to a basic wall. It adds beautiful subtle texture that looks subtle but gorgeous. Plus, it looks fantastic with neutral colours!
The only negative is that limewash paint is not cheap and not easy to find in Canada! So I found a way to get the same effect for WAY less!
Here’s what you’ll need:
SUPPLIES:
- Drywall compound/plaster
- Paint
- Water
- Stiff bristle brush
The process itself is quite easy.
STEPS:
- Mix 1 cup water, 1 cup drywall compound to 3 cups paint
- Prep your wall (clean it and make sure its free from any dust)
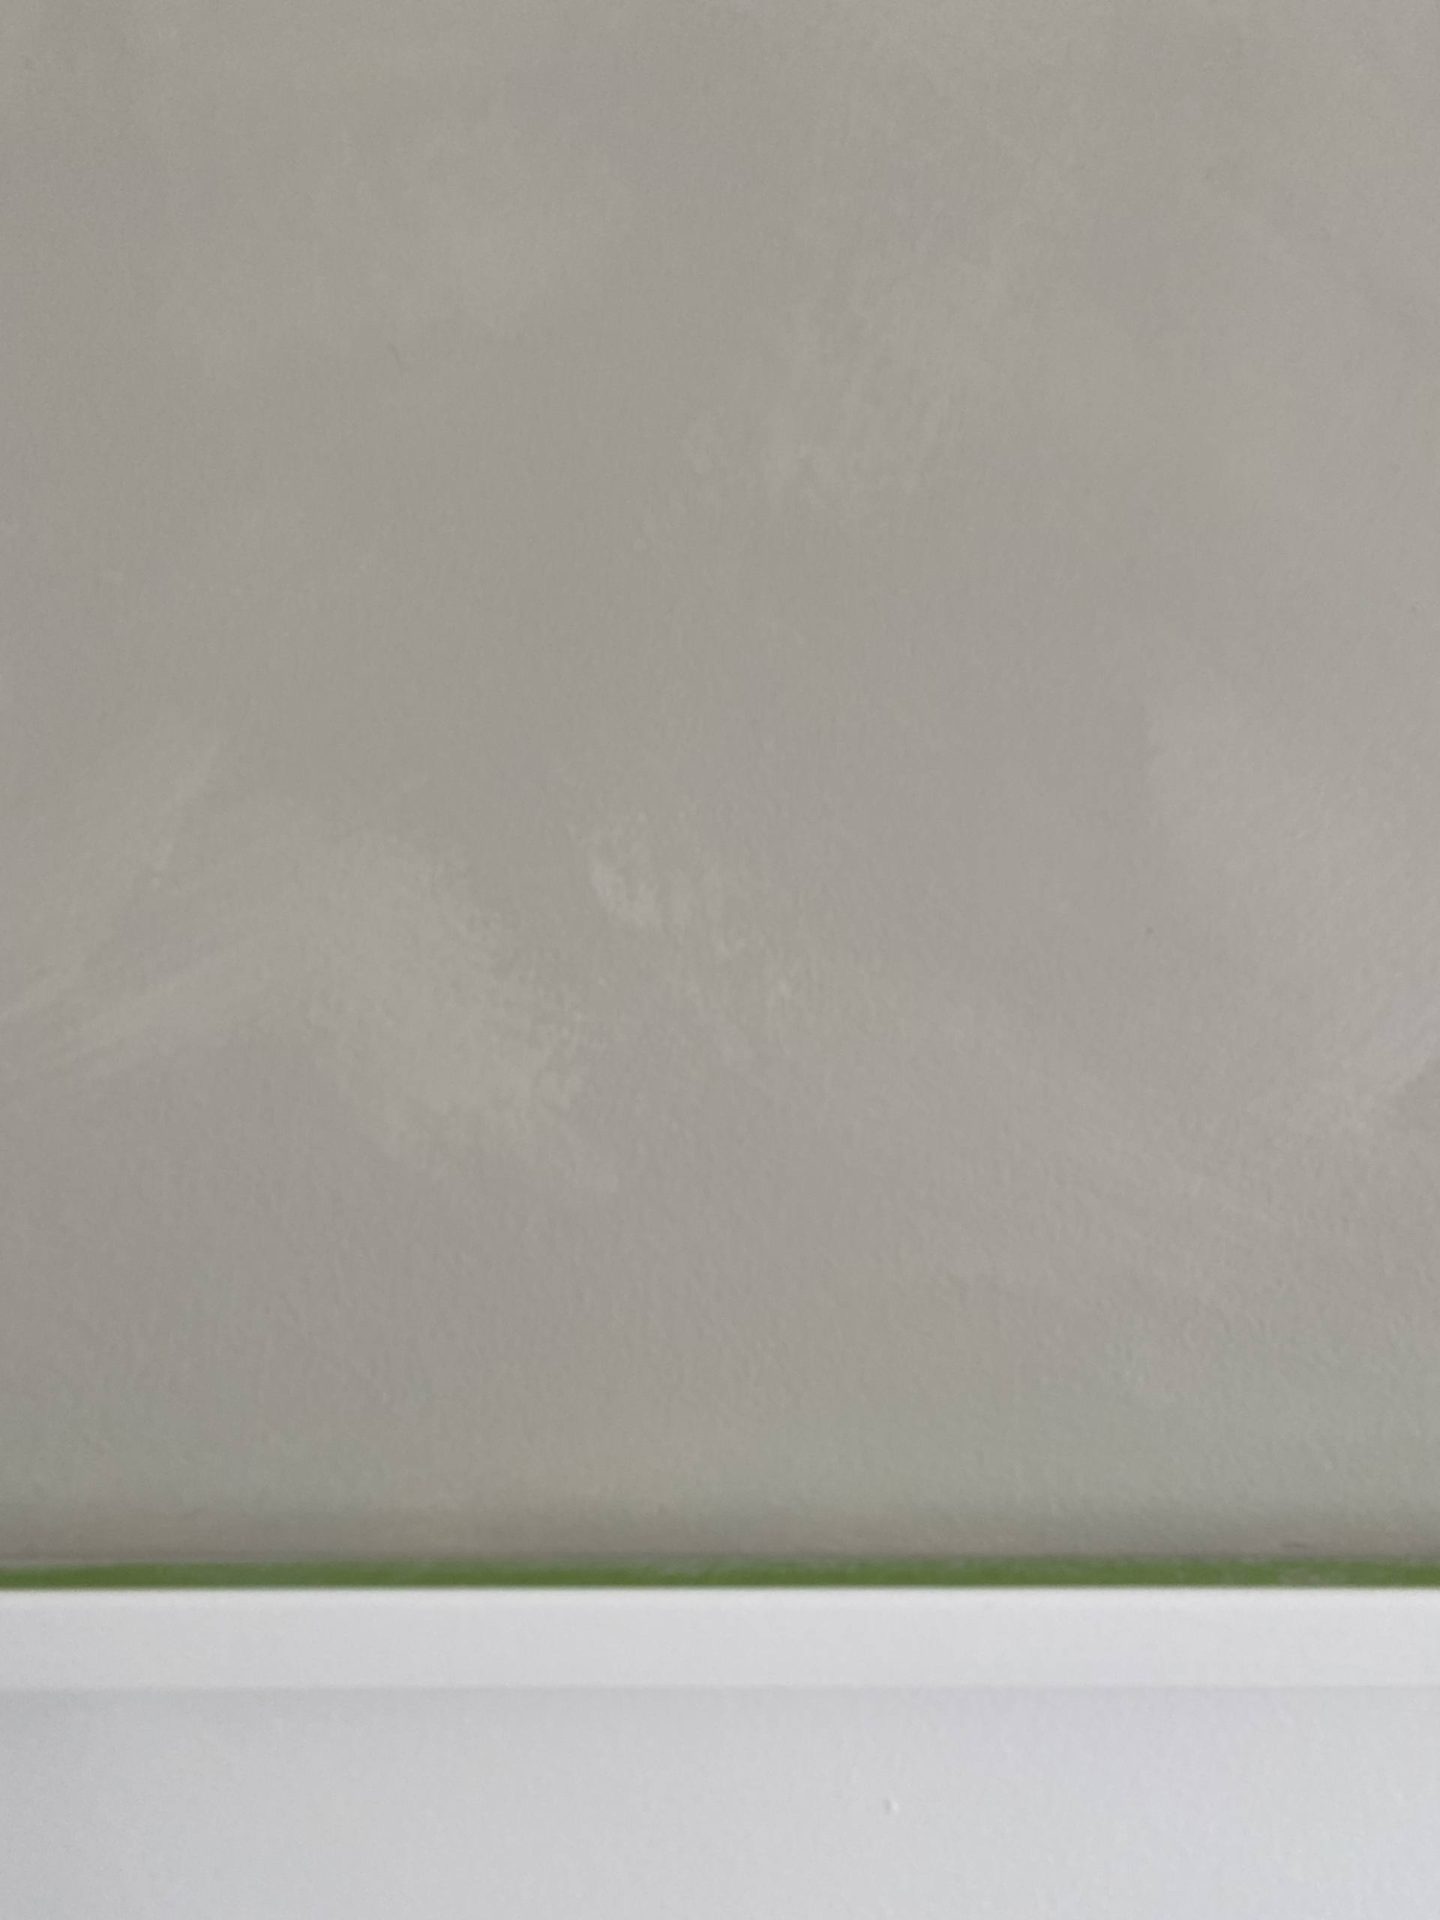
- Tape off your wall. I initially forgot to do this, but it’s incredibly important, as you aren’t going to be painting in the same way as you would with regular paint.
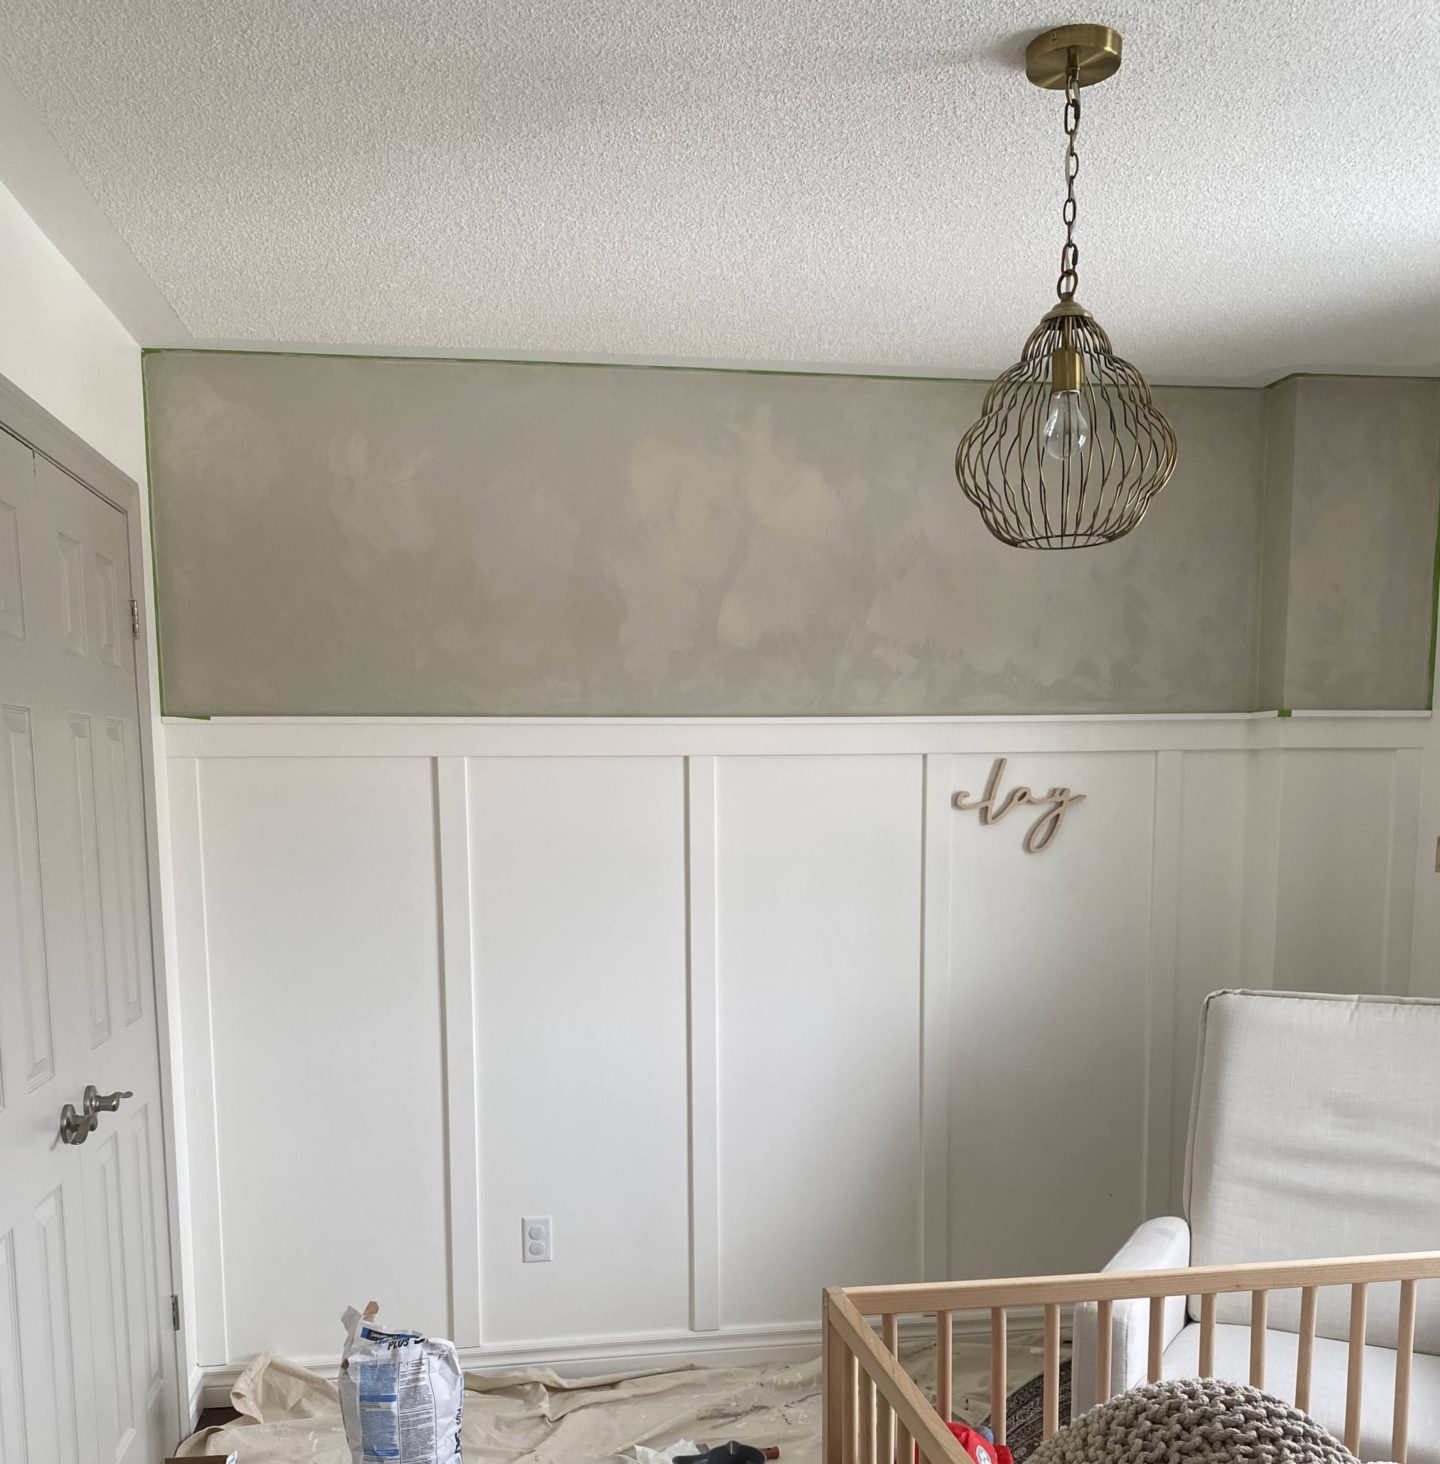
- Using your brush, paint long, random strokes. Don’t worry about covering every bit of wall. If you miss some leave it. You’ll have a chance to cover it during your second and third coats! *It will look ugly but stick with it!
- Do 3-4 coats. I did 4, but I think I really only needed 3 for full coverage.
- TIP: I added more drywall compound to the last coat for extra texture
- That’s it!
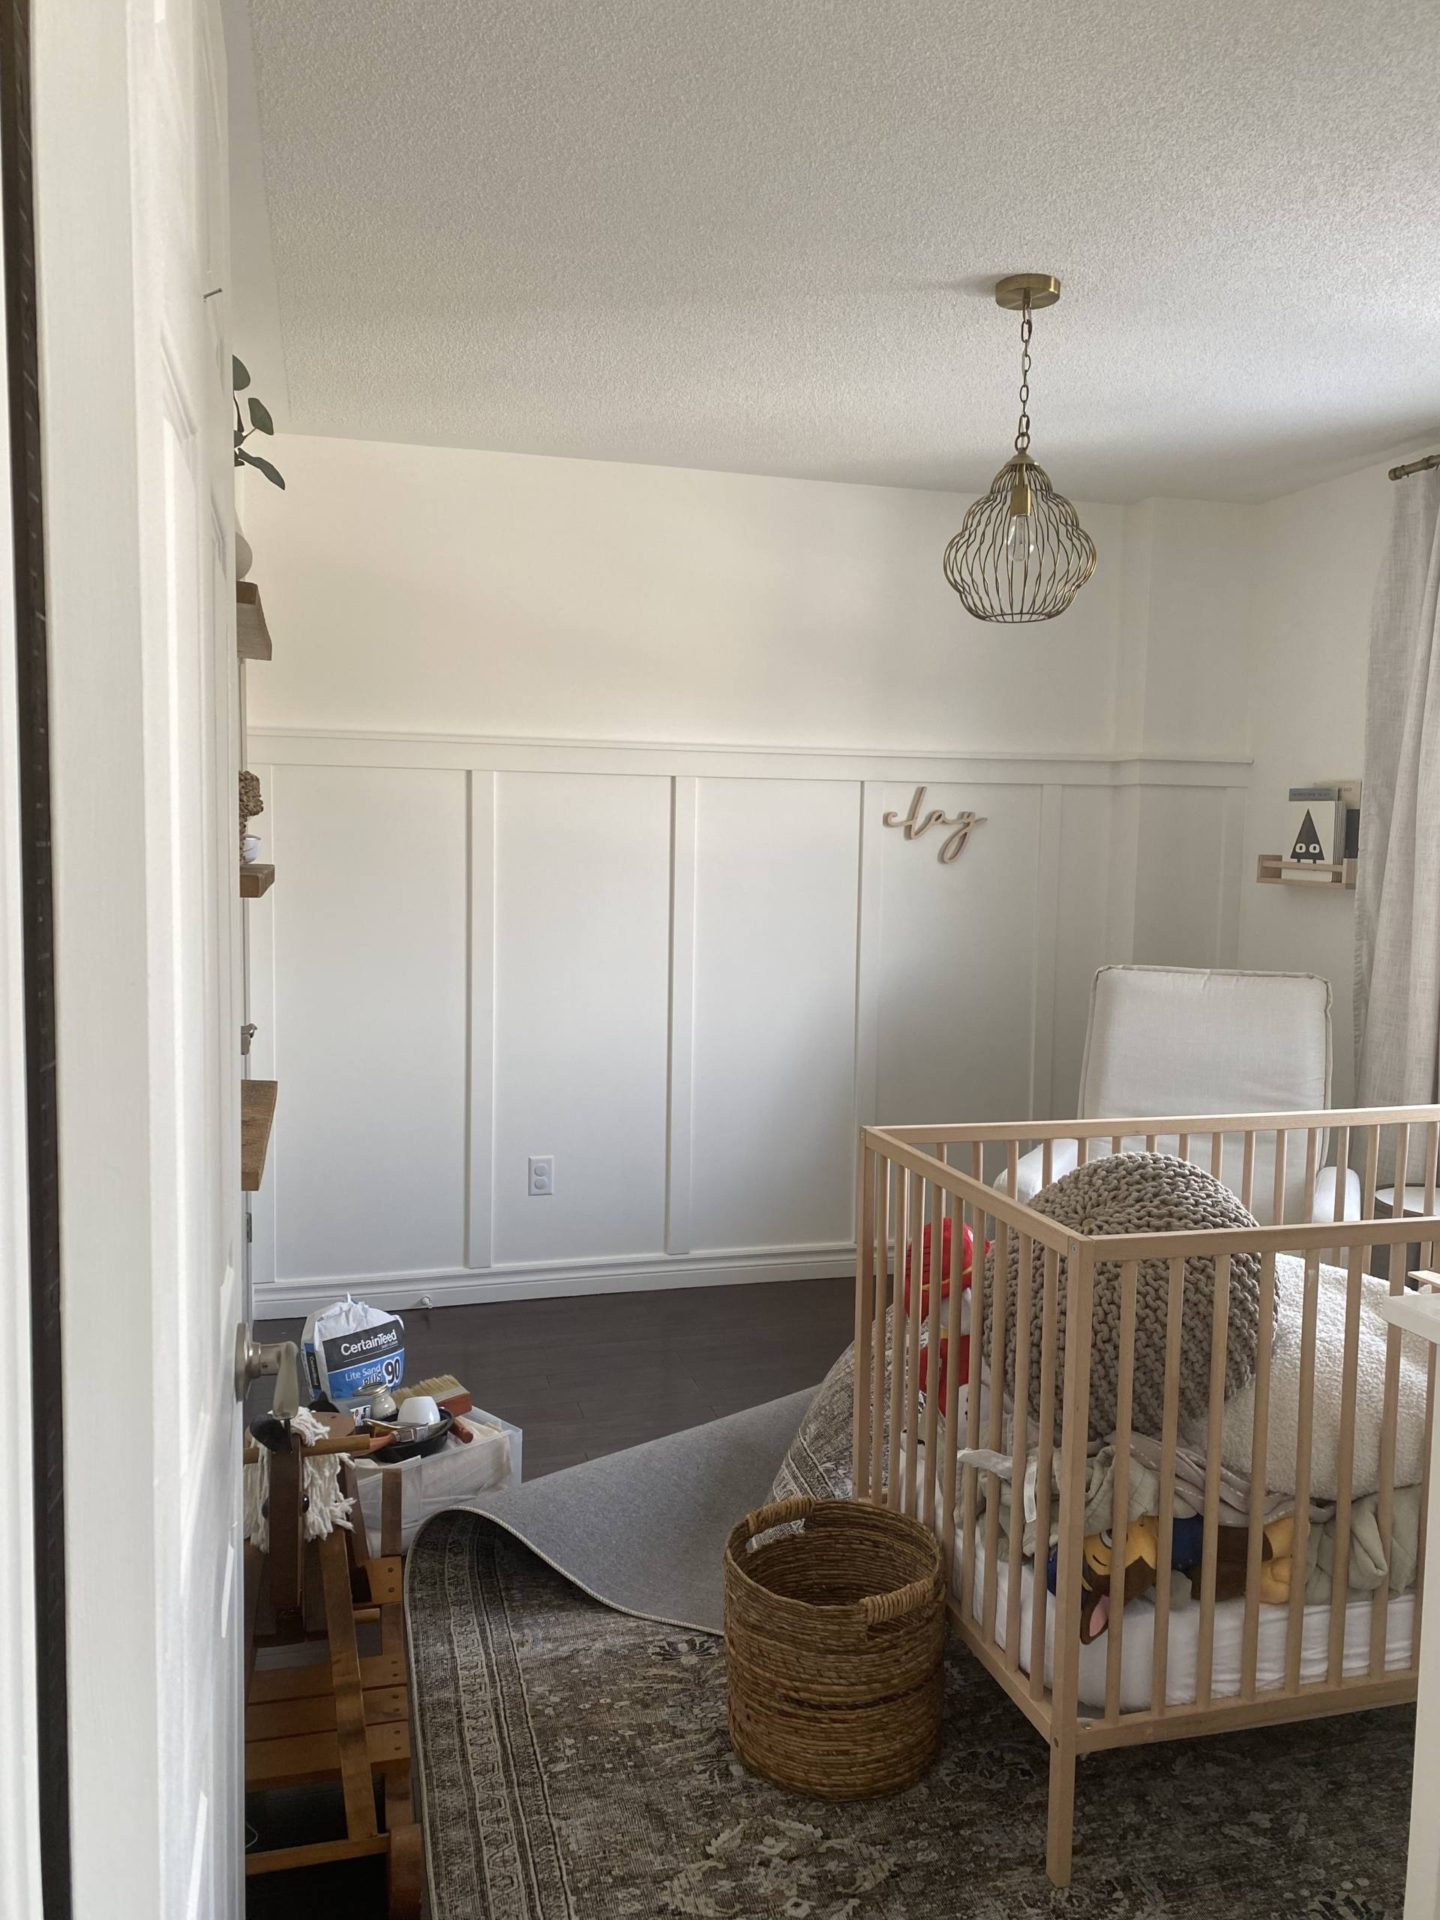
BEFORE:
DURING:
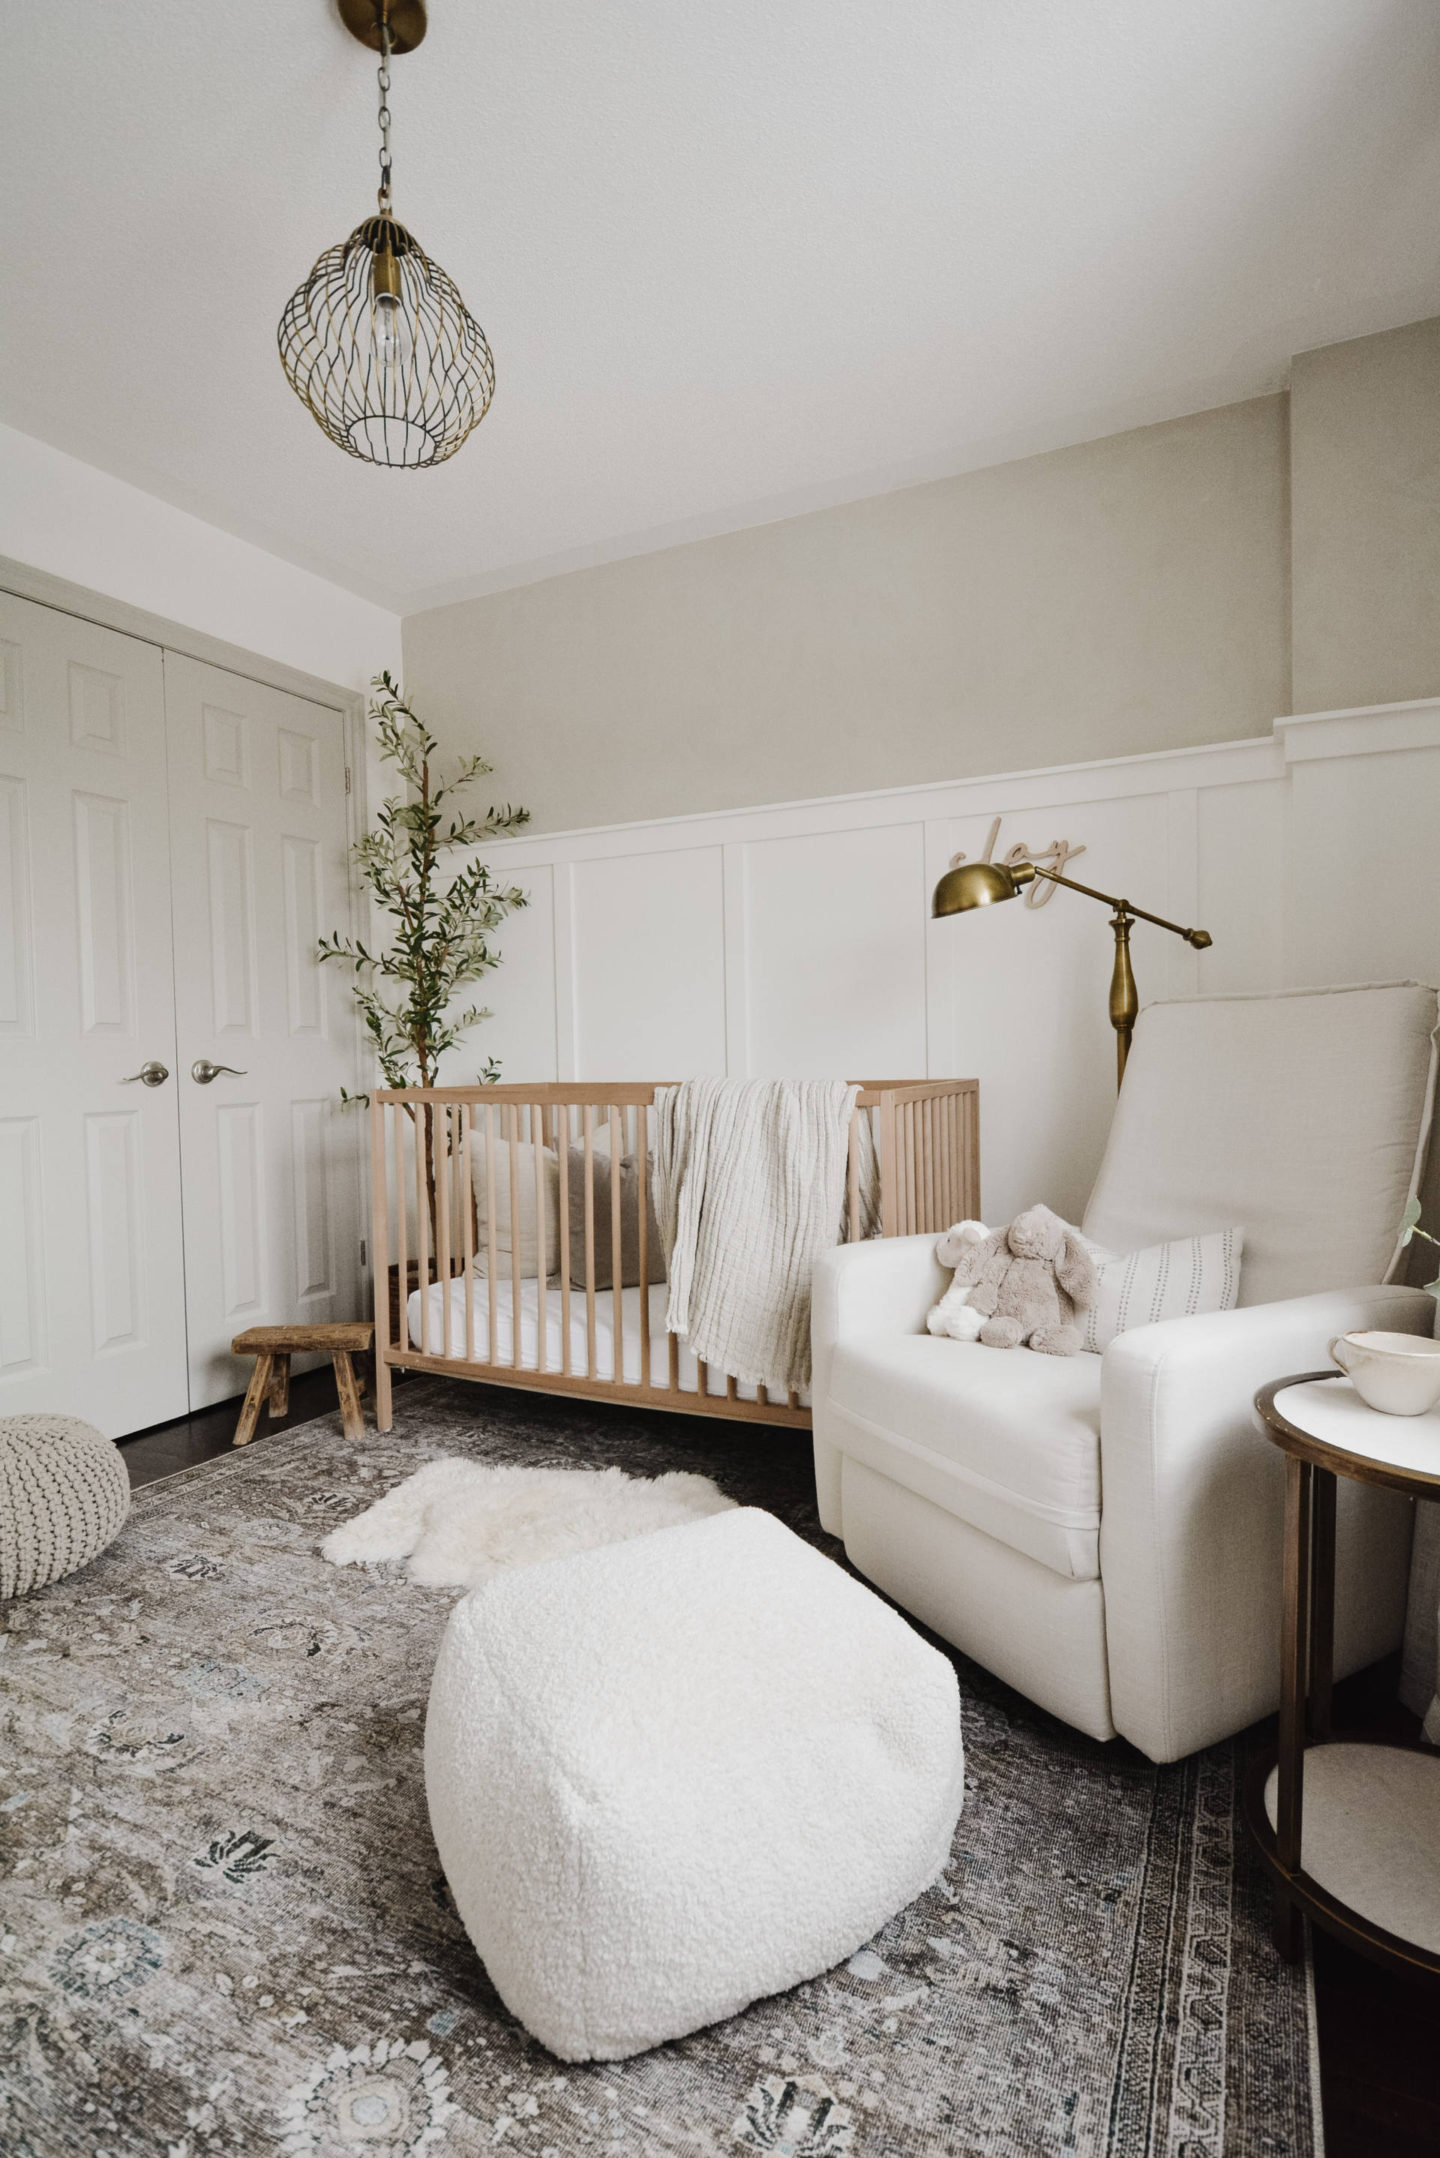
TIP: Use earthy paint colours to get the best effect – it makes it look more natural.
It’s a subtle effect but gorgeous and super affordable! I have plans to try this in other areas of our home too, so stay tuned!
AFTER:
Share the ♥︎
Leave a comment
Close comments