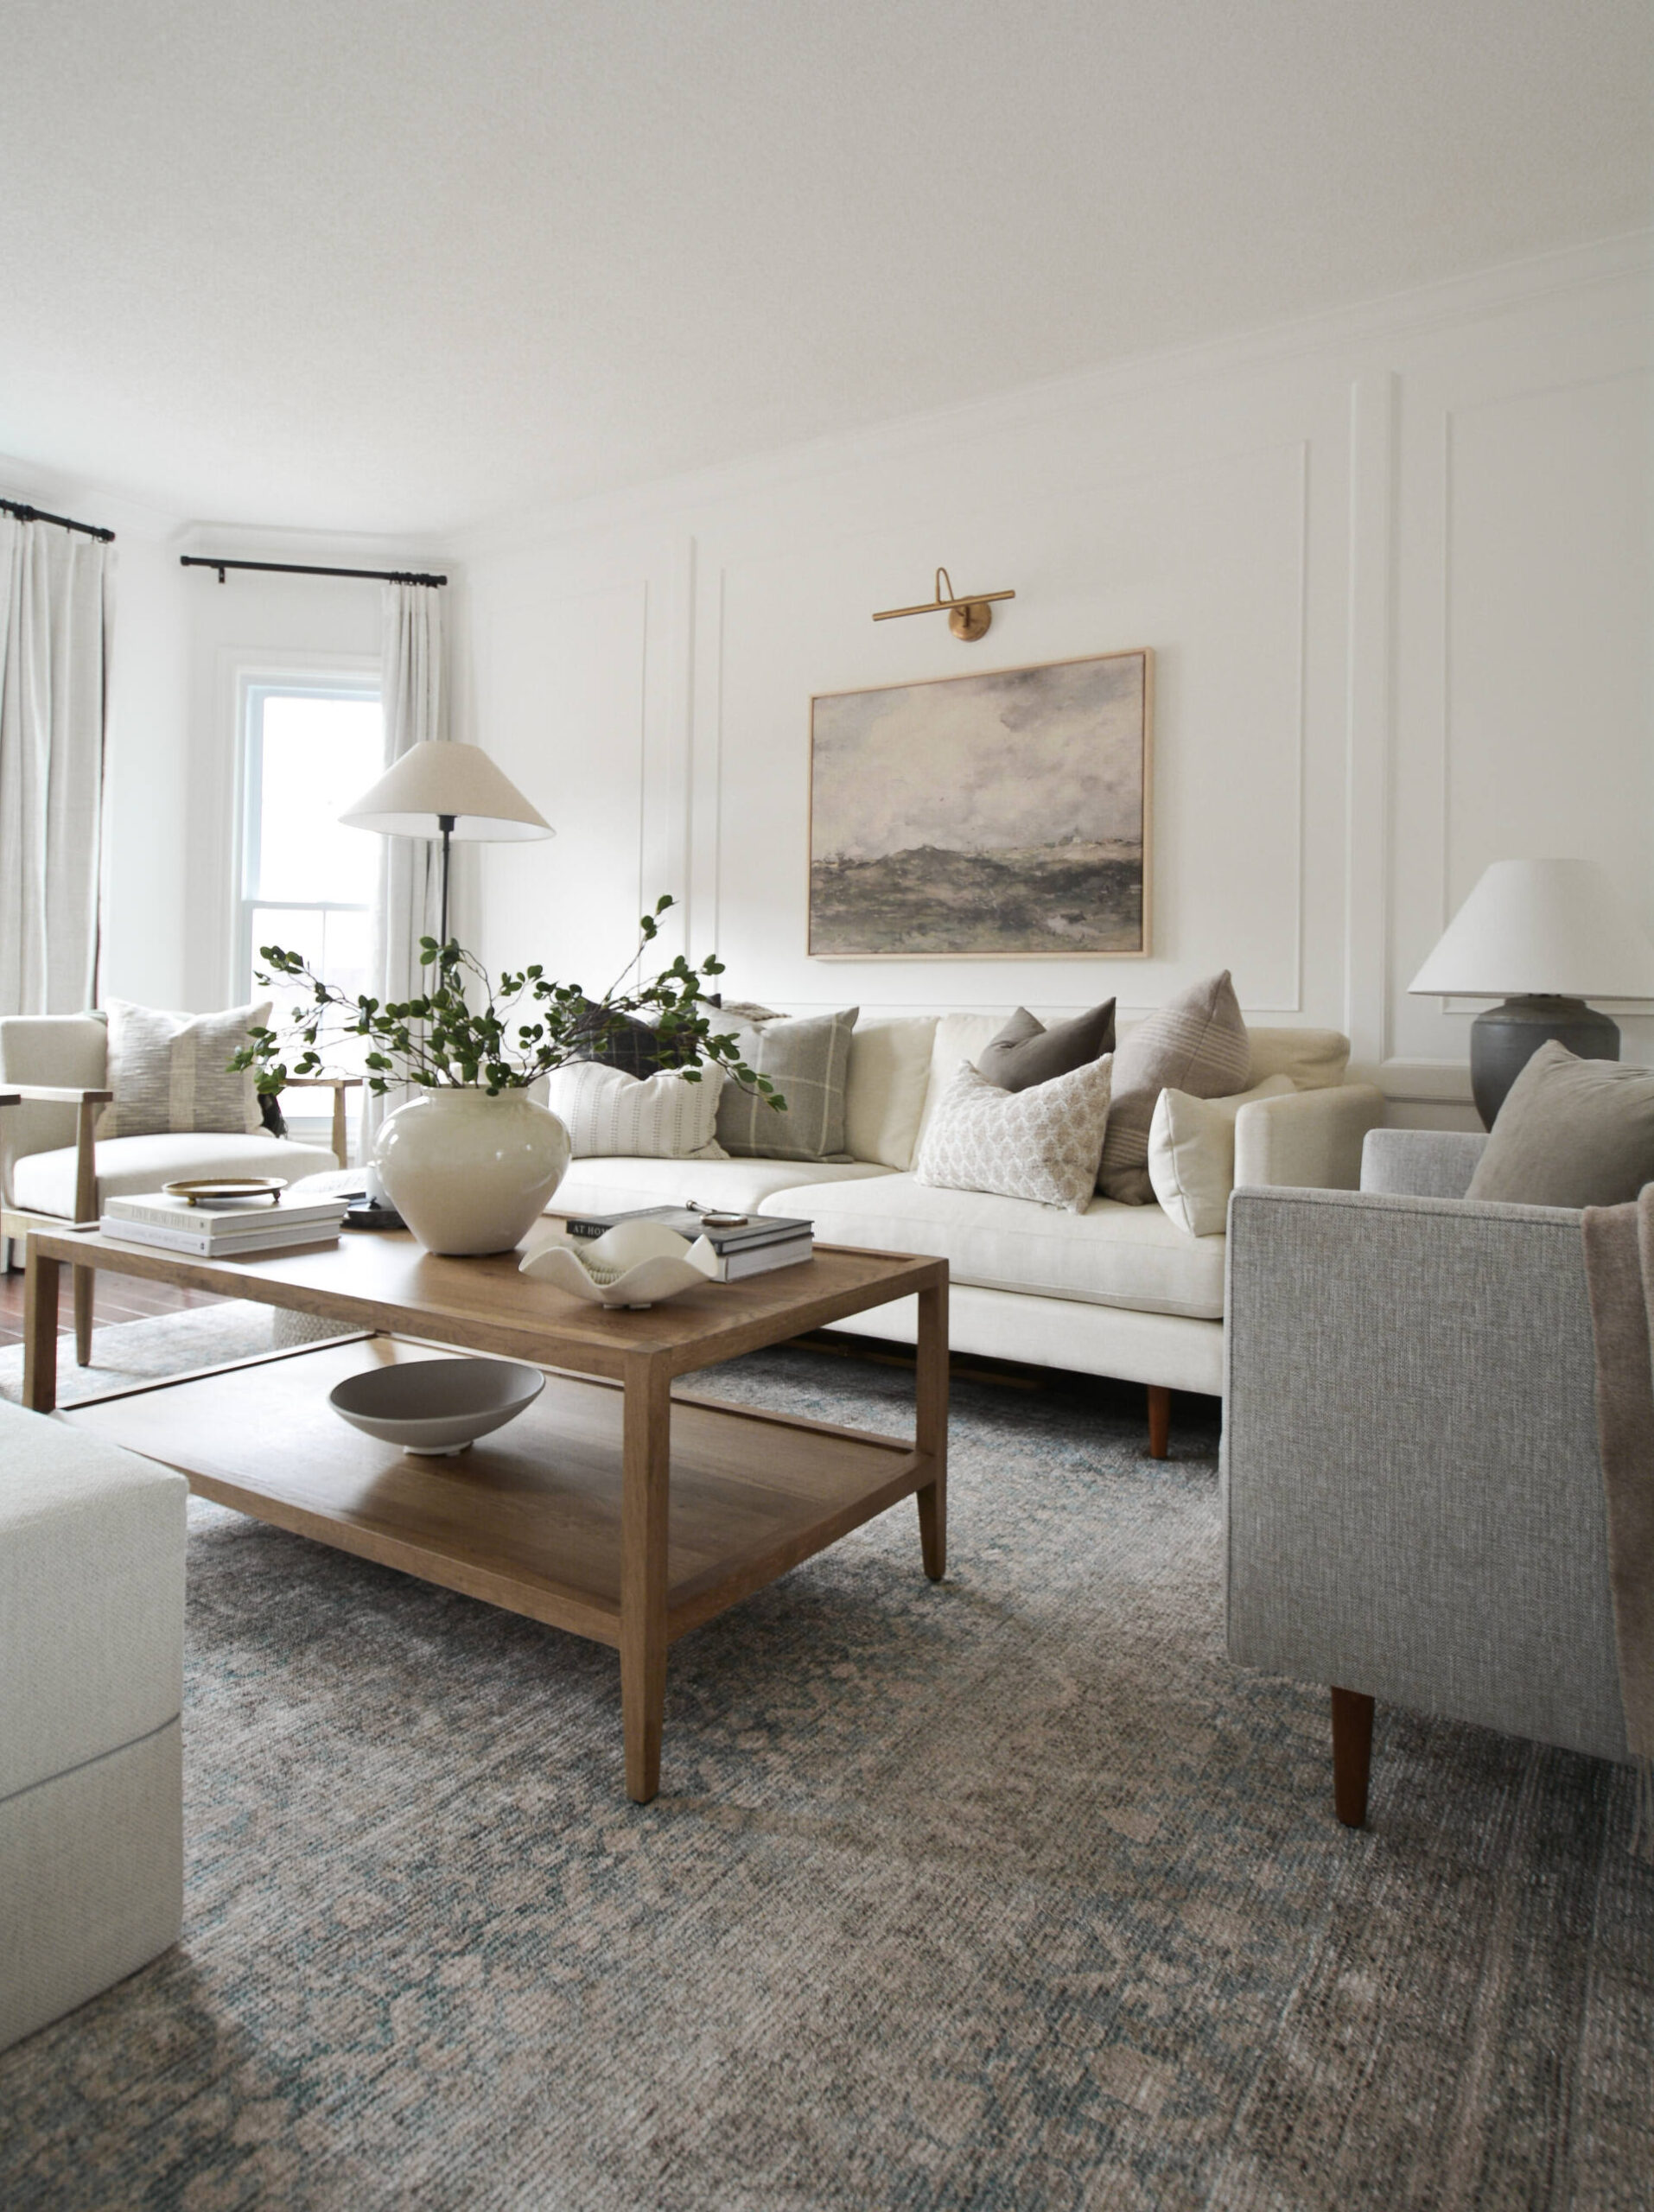
Board & Batten is a great beginner DIY and something we’ve done all over our home! I love the interest it adds to a space. The best part is that it isn’t super expensive and
How to DIY Board & Batten in 6 easy steps
1. Plan it out:
You want to determine how you’re going to layout your wall. Typically you may want to go 2/3 of the way up the wall for your horizontal boards but that’s completely personal preference. Take outlets and switches into consideration. Measure the width of your wall and plan it out before you buy your boards so you know what you need to purchase. Then you can physically lay out your boards to get a visual. We use pre-primed MDF- its easy to paint and they are already cut.
2. Install your horizontal boards:
Our horizontal boards are 3 inches wide and 48” up from the top of our baseboard. You don’t have to remove your baseboards to do this.
3. Install your vertical boards:
Determine the spacing between your boards- we like working with odd numbers, but you want to make sure the spaces are even. Measure the width of your wall and divide it by the number of boards you have, BUT you need
to subtract the width of the boards from that number. On our main wall, we’re going to have 5. Our horizontal boards are 2.5 inches wide
4. Fill holes:
We use a sparkling called DAP to do this- it goes on pink and dried white when it’s ready to sand.
5. Caulk your seams:
We use paintable caulk – you can buy it in white or clear. We use DAP Alex fast dry.
6. Paint:
We do this last since this way it covers all the caulk and nail holes we filled and sanded.
Thats it! Follow along to see how we do this in various spaces of our home!


