
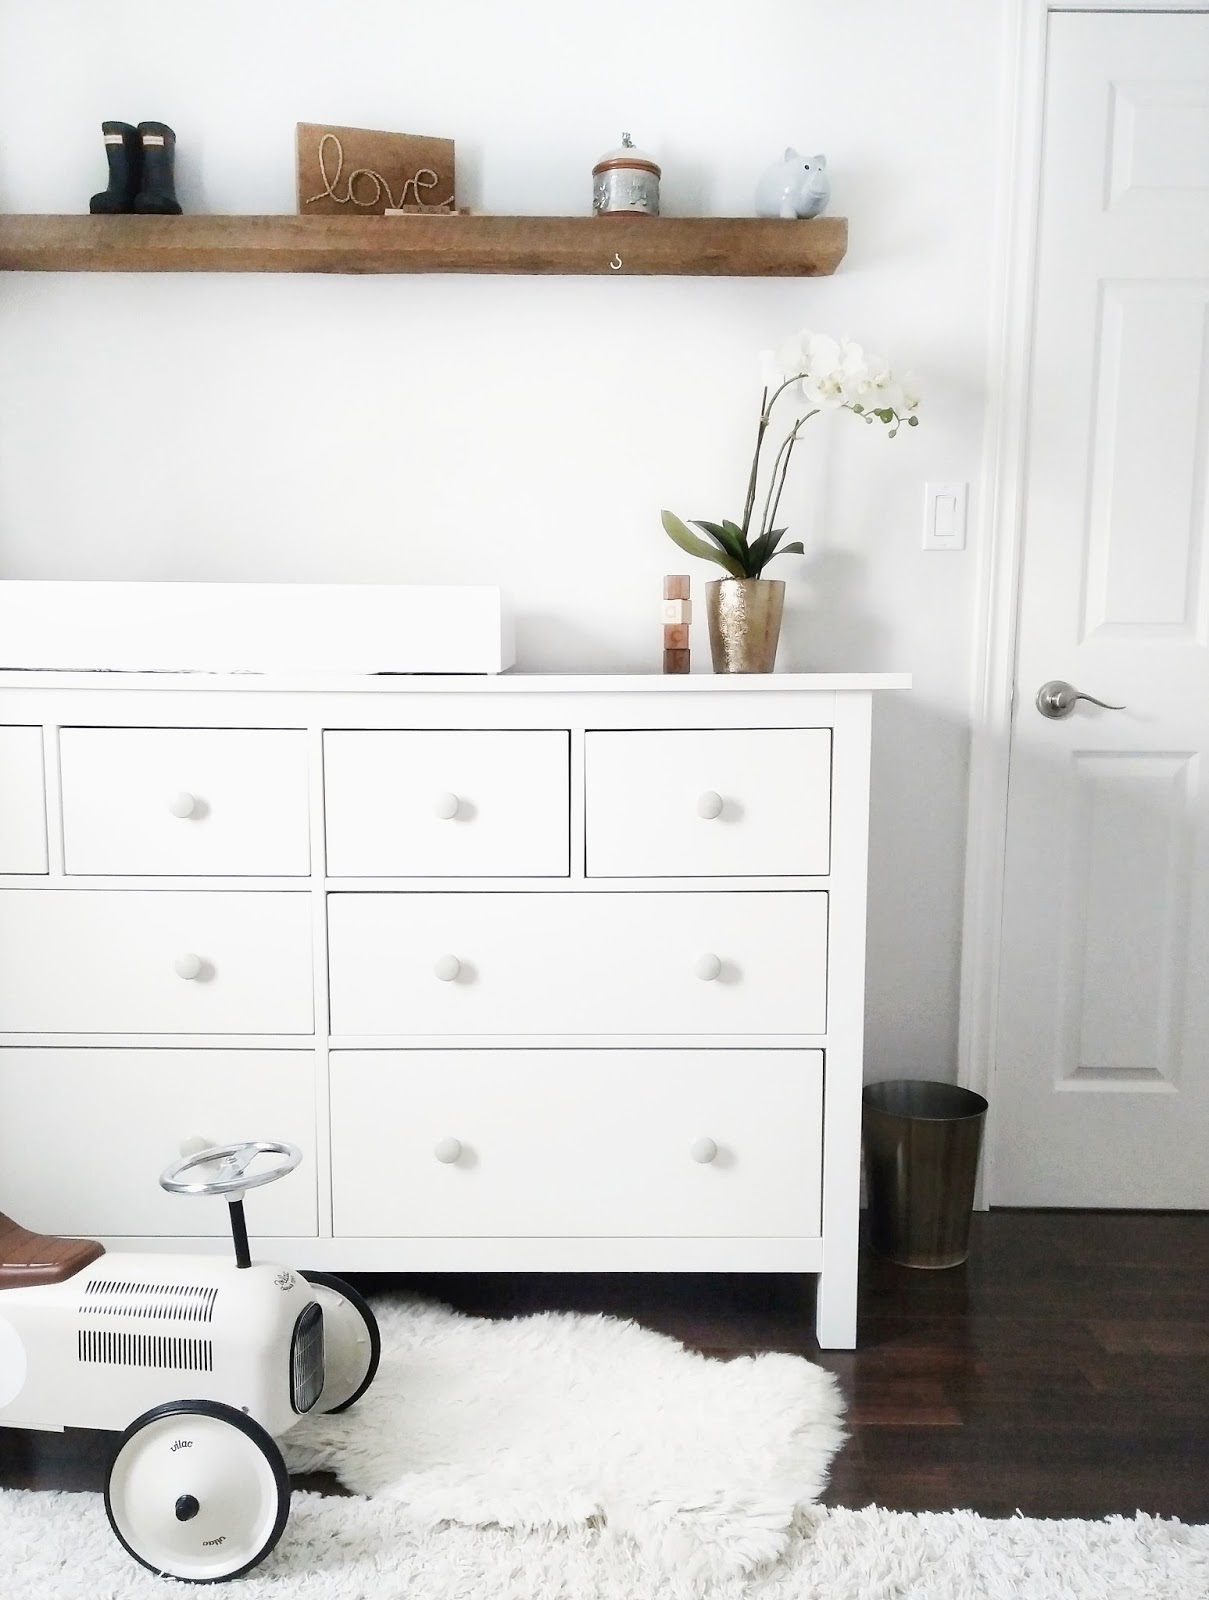
When we were designing the nursery, we decided that we wanted to get a dresser for the room rather than an actual change table. We went this route knowing that we’d likely want to keep the dresser in the room even after its no longer a nursery.
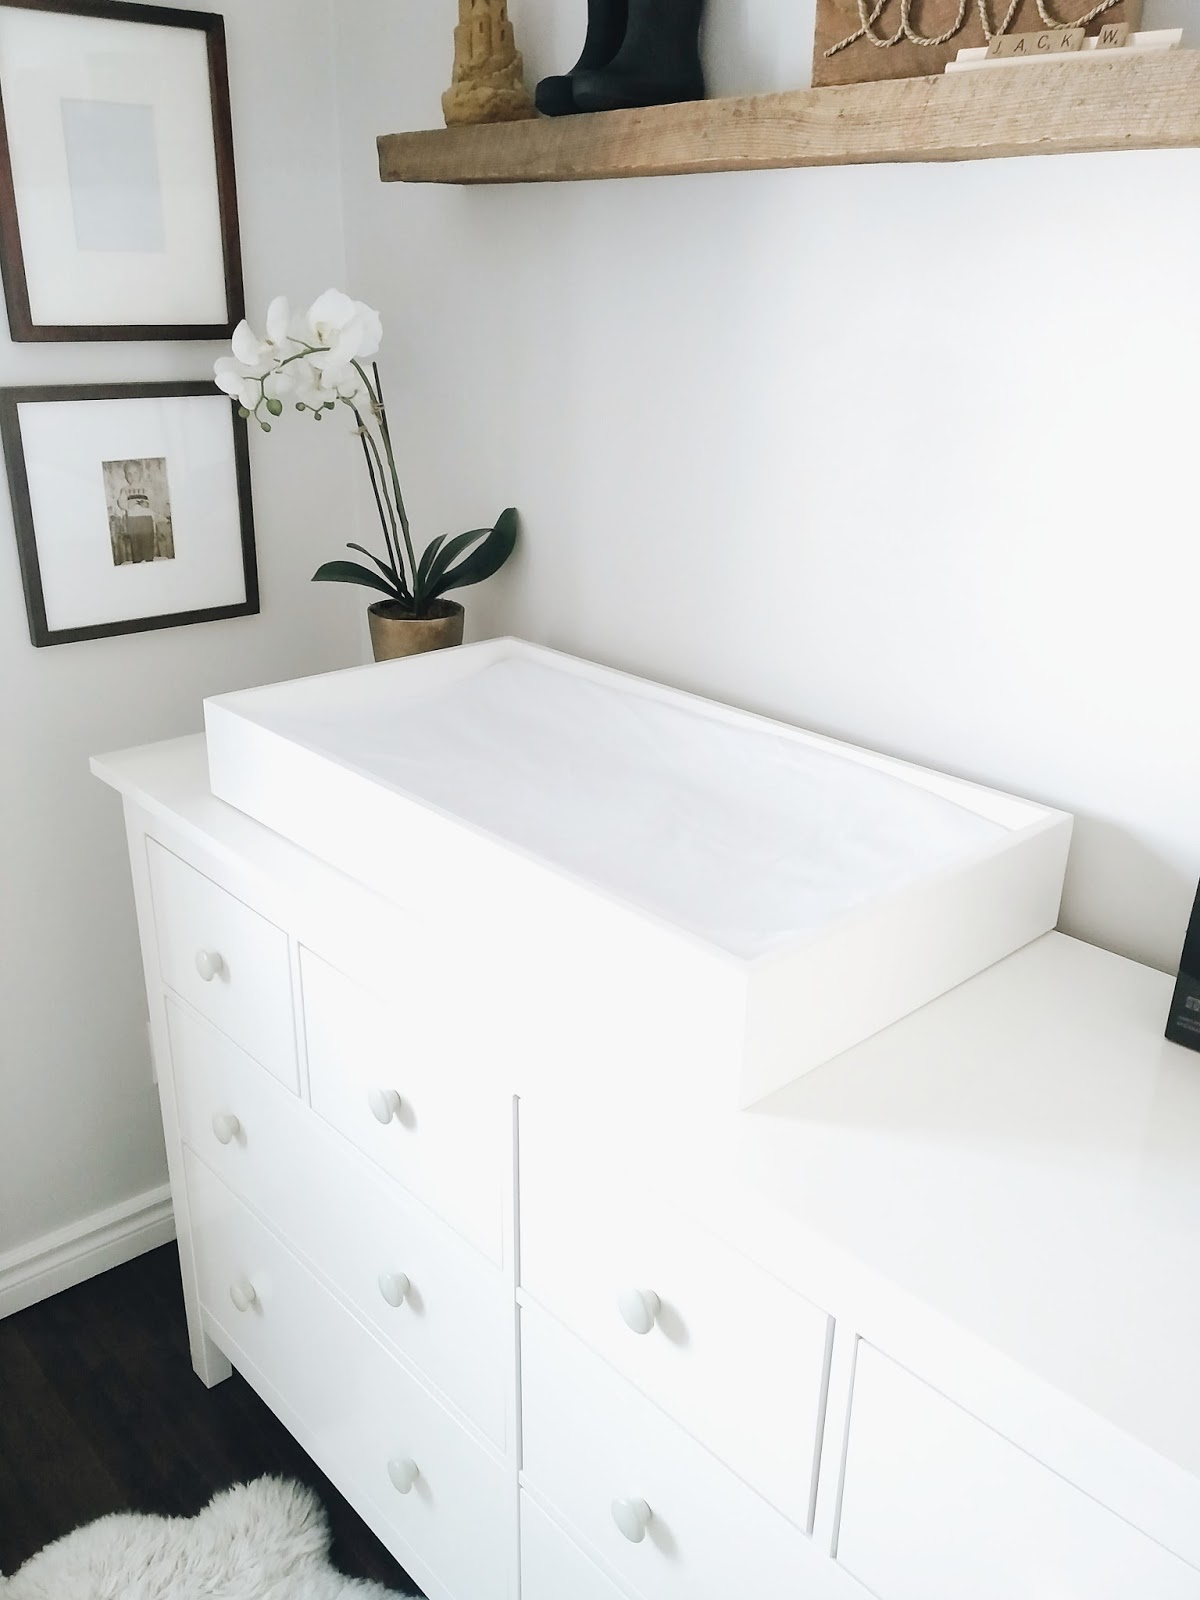
We chose the dresser pictured above because it was the perfect height and depth to act as a change table as well as function as a dresser. We could have just put a change pad on top and been done with it, but I really liked the look of a topper and felt it gave a more finished look to the room (as well as making the dresser feel more like an actual change table).
I scoured change table toppers online and the cheapest one I found was $150, so I decided to come up with some ideas on how we could create our own…for a lot less. We ended up coming up with a basic/easy design that’s incredibly easy to DIY.

Here’s how you can create your own change table topper:
1. Purchase a change pad. Before starting this project you want to make sure you have a change pad so that you can create your change table topper to fit. Most change pads are a standard size (32 x 16), but best to be sure.
2. Design your topper. I wanted a simple design and we determined that we didn’t need a base on the topper- just the frame itself. I wanted the frame to be just a bit higher than the actual change pad as well.
3. We purchased 2 pieces of MDF trim that were 84″ length and 4″ high, from Home Depot. The actual change pad was just over 3″ high, and I wanted the frame to be just a bit taller than the actual pad, which is why we chose 4″. We calculated that we would make each long side 33″ long and the short sides 17.5″ deep. So when we added that up (33 x 2 and 17.5 x 2) we ended up with 101″ plus a bit of extra for waste, so 2 pieces 84″ long would work fine.
4. We cut the pieces to size on a 45 degree angle in order to make a nice smooth corner and this allowed the pieces to fit together nicely:

5. After the pieces were cut, we simply nailed them together (using small nails and a hammer, if you have a nail gun, even better), filled the nail holes with wood filler and once dry, sanded and painted. We opted to paint the topper Simply White by Benjamin Moore (the white we’ve used in many other areas of our home) since it blended well with the colour of the dresser. If you were planning on staining your table topper, you would need to buy actual wood trim, rather than MDF, in order to be able to stain it.
6. Lastly, once it was dry, we added some rubber feet to the bottom of the topper so that it wouldn’t slide around on the dresser.
That’s it- 6 easy steps to create your own change table topper. Simple, easy and cost us less than $30.00.